
Here is where I left off in yesterday's post. The edges of the batting and fabric had been attached to the frame with fabric glue and tucked underneath to dry overnight.

With all the nail head trim in place, it was nearly time to turn over the headboard and attach the fabric to the back of the frame.

Before doing this, however, I decided to also staple the fabric in place along the bottom edge of the frame. Again, just like the top edge, this edge will not be seen. I did manage to get the fabric attached across the headboard in straight lines and it was important to also accomplished this along the edges of the headboard. A key element in how well the finished product looks is to avoid seeing dips and waves in the pattern. So, anything I could do to get the placement right was worth it!
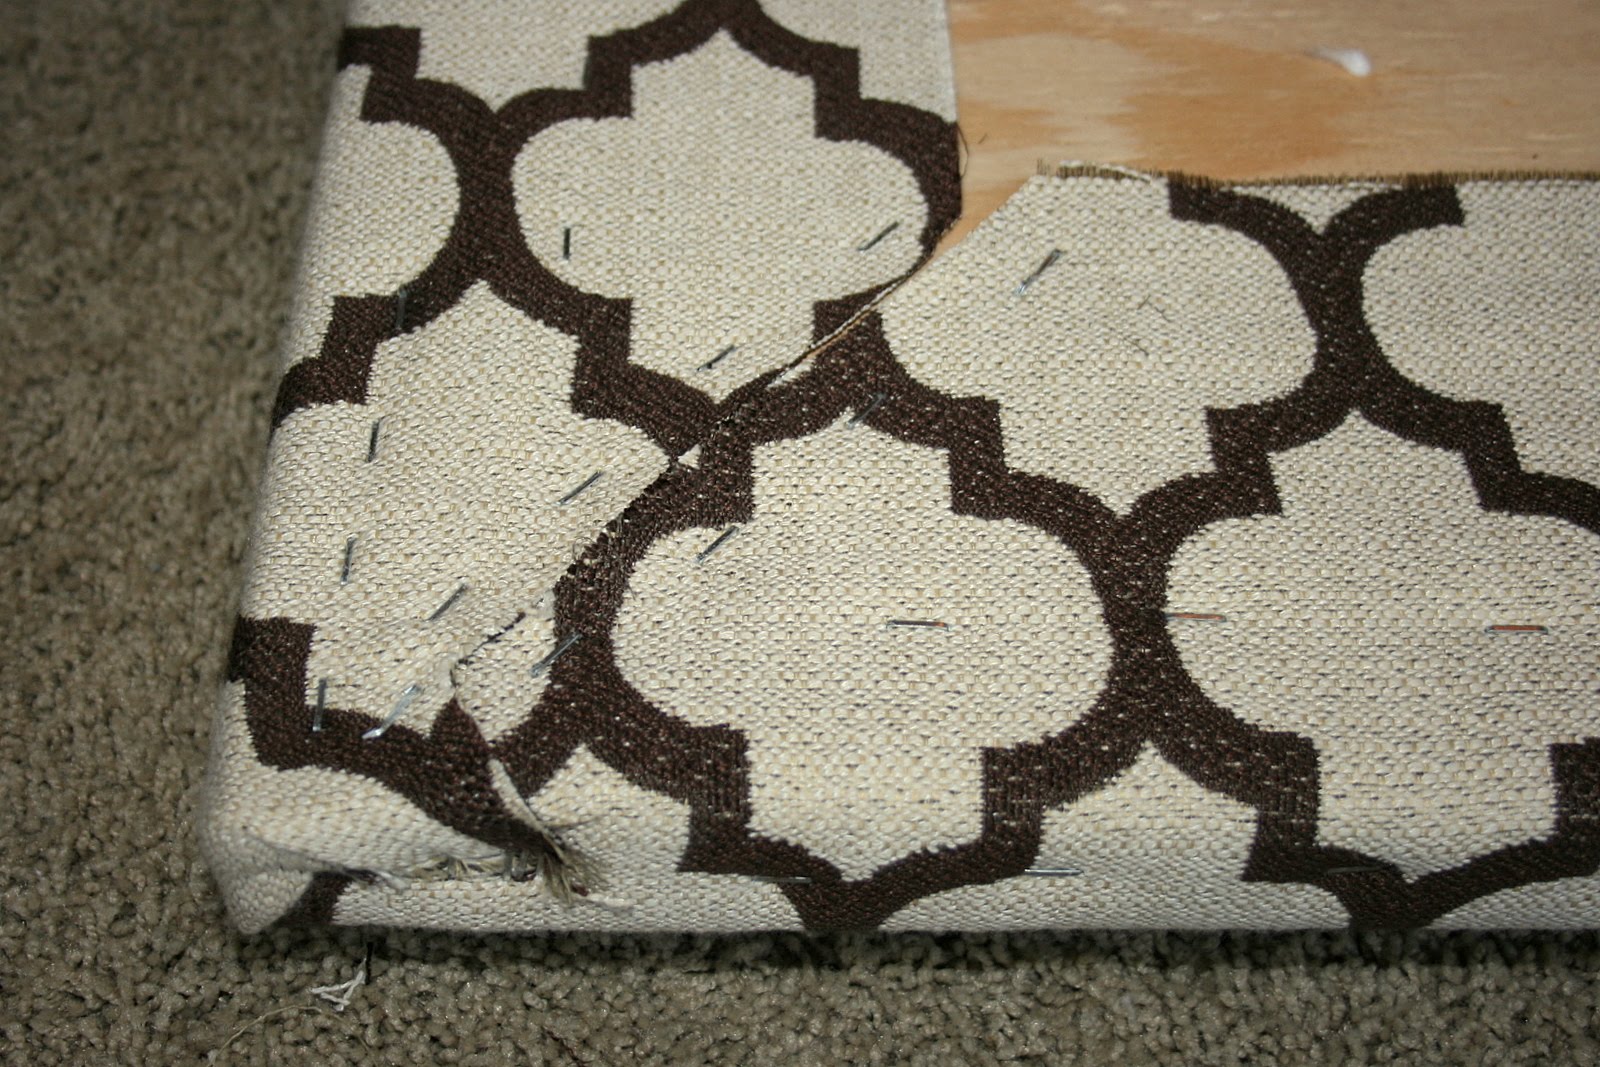
Once the bottom edge was stapled into place, the headboard was turned over and all the extra fabric was trimmed away from the corners. With two layers of batting plus fabric, the corners were getting bulky and this had to be eliminated. The concept was to have the back side of the headboard lay flush against the wall, but if the corners were thicker at the back this wouldn't be possible.

After some hesitation, I got brave and trimmed away enough fabric to get the job done. Afterwards the cut edges were treated with Fray Check, to ensure they will not unravel around to the front of the frame over time.

And finally the exciting part, preparing to attach the headboard to the wall! Here I got some help again. Yes, I could get used to working with someone on projects. The placement of the headboard was marked on the wall with pieces of tape.
(And do you notice that unpainted spot where the previous bedframe was? Ha, I'm busted! I originally painted this room after the furniture had been placed in the room and painted just far enough behind the bed for this shortcut not to be noticed.)

Then, to attach the headboard directly to the wall, a LOT of heavy duty construction glue was applied to both the back of the headboard and the wall, at points where they would meet.

Prior to lifting the headboard into place, braces were brought into the room to hold the headboard in position while the glue dried.

It was finally time to lift the headboard into place against the wall. The view below amuses me...(what the heck is that?!)...but at the same time it is really exciting. The headboard looks very close to what I had imagined, what fun it has been to see my vision implemented!

The glue has been drying, with these boards holding the headboard firmly in place, for a few days. I'm getting ready to take them down (oh, I can hardly wait!) and certainly hope there are no surprises in store for me. If not, look for photos of the finished headboard tomorrow.
No comments:
Post a Comment