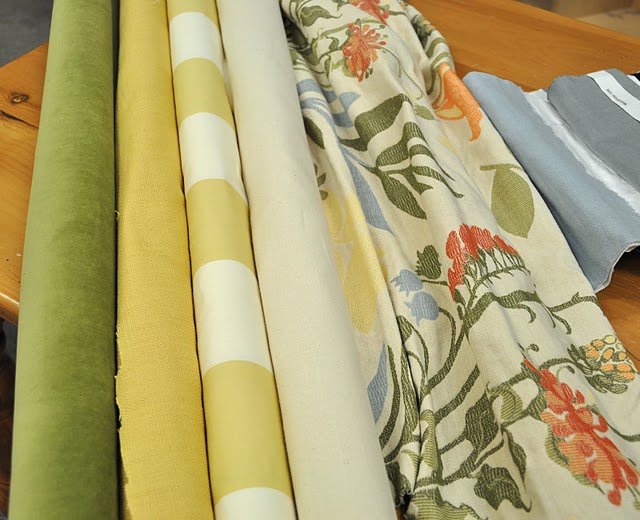
When browsing for fabrics to highlight in a post on how to mix and match fabrics, I came across the Garden Envy jacquard. Love. I knew I had to find a way to use it in my dining room project! So during a recent sale I placed an order for the fabric, along with the solid Brandywine Duck in Natural, to make a table runner.

Once the fabric arrived all the needed supplies were gathered: fabric marker, measuring stick, scissors, pins, thread, as well as the sewing machine and iron.
(Side note: when we moved from house 1 to house 2, the sewing machine apparently got lost. It wasn't until moving to house 3, about three years later, did it surface from underneath a pile of boxes that never got unpacked! I'm now wondering how I survived and decorated house 2. Hum, I think I did borrow my mom's machine for awhile...)

To begin, the selvage was cut from the length of fabric. These edges can sometimes be more tightly woven than the body of the fabric, and if they are not cut away the resulting seams can end up looking "puckered". We don't want puckered!

Next the center point of the print to be showcased down the center of the runner was determined. As I wanted the finished runner to measure 27 inches across, I measured 13.5 inches out from the desired center point of the print in each direction.
(This is the only tricky part, when making a runner from a print! Each print is different and you'll have to just decide what area of the print will look best running down the center of the runner.)

Afterwards an additional inch was added for seam allowances on each side, for a total cut width of 29 inches.

Once the jacquard fabric was cut to size, it was then placed over the fabric to become the underside of the runner, with the right sides facing together. Next the lining was cut by simply cutting around the edges of the jacquard fabric.

Before moving the two layers of fabric, the edges were pinned together at about 7 to 8 inch intervals.

Next the fabrics were sewn together, leaving an approximately 10 inch opening to allow the runner to be turned right-side out.

{Trimming the corners helps ensure nice flat corners.}

And in the last steps, the runner was turned right-side out...

...the seams pressed and the opening slip stitched closed.

I love the colors the runner introduces to the table area, picking up on hues seen in the adjacent spaces.

What a wonderful spot to set up for a party.
{Or for Easter...or simply to bring in a spot of pretty any day of the week!}
No comments:
Post a Comment