
At long last, my closet dilemmas are OVER!

This was my bedroom closet for about 3 years. After painting it, I never replaced the closet innards because I didn't have a place for these linens.

You see, the linens needed to go here, and I didn't have anything for that yet.

I decided to finally build a linen closet...
(how-to HERE)

... which left no place for my clothes. So my version of a walk through hallway closet came into effect. After hitting my head umpteen times on the clothing, I got fed up and head to Walmart.
You see, I had anticipated making something really cool and outlandish even, however at this point I didn't desire more delays.

So I went retail and picked up a $50 kit. I mean.. it's a closet. It's behind closed doors. I'll save cool for where I can see it this round. :)
Now, what I DO love about kits is that they're fool proof. Holes are predrilled, hardware is intact. Just add your tools and prepare to spend 1 hour of your life reading directions and building it and call it done. Works for me!

Tools required
- cordless drill and bits/drills
- measuring tape
- pencil
- level
I really love tool kits that travel. This Makita drill kit has both drills and bits so everything is easily mobile and intact. But it doesn't last forever... I'm well overdue for an upgrade as most of my bits are stripped. It's on the list!
Assembling the shelving

I chose a closet style that had shelves in the middle of all the hanging apparatus. Deadly simple to install with your cordless drill!

This kit had two shelves stacked on top of each other. They're held in place with a peg in hole trick which worked like a charm.
Hardware and rods

When attaching the rods to different surfaces, you need:
- Wall mount side - left - thicker drill, long screws, anchors
- Shelf mount side - right - thinner drill, short screws

The rods were adjustable white enamel, oh so pretty and smooth! The little hole is designed to clip onto the lower hinge tooth.

Installing the shelf brackets - first
- decide where to place the bracket
- pencil inside the holes for reference
- predrill wood
- screw bracket on
Installing the wall brackets - 2nd
- measure height off floor vs how far away from the wall shelf bracket is
- pencil location on wall
- predrill drywall
- mount anchors by pounding them in with a hammer/rubber mallot
- screw bracket on
Check the level of both rods and shelving before making their placement permanent.
There were also brackets to attach the shelving unit to the wall. (no pics)
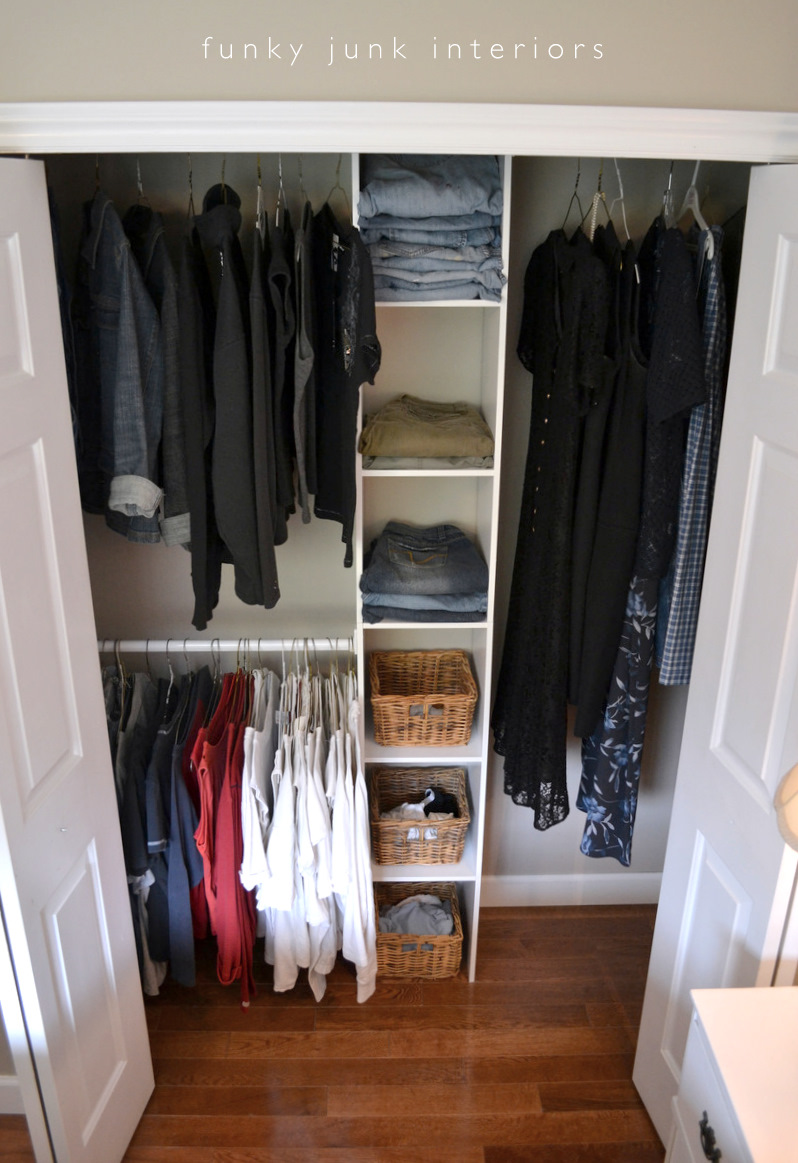
Reveal

Tadaaaa! Isn't it pretty?!?

These Ikea baskets I've had for a bazillion years fit perfectly in the shelf. Great for socks, etc.

And then it was time to move in! YES.
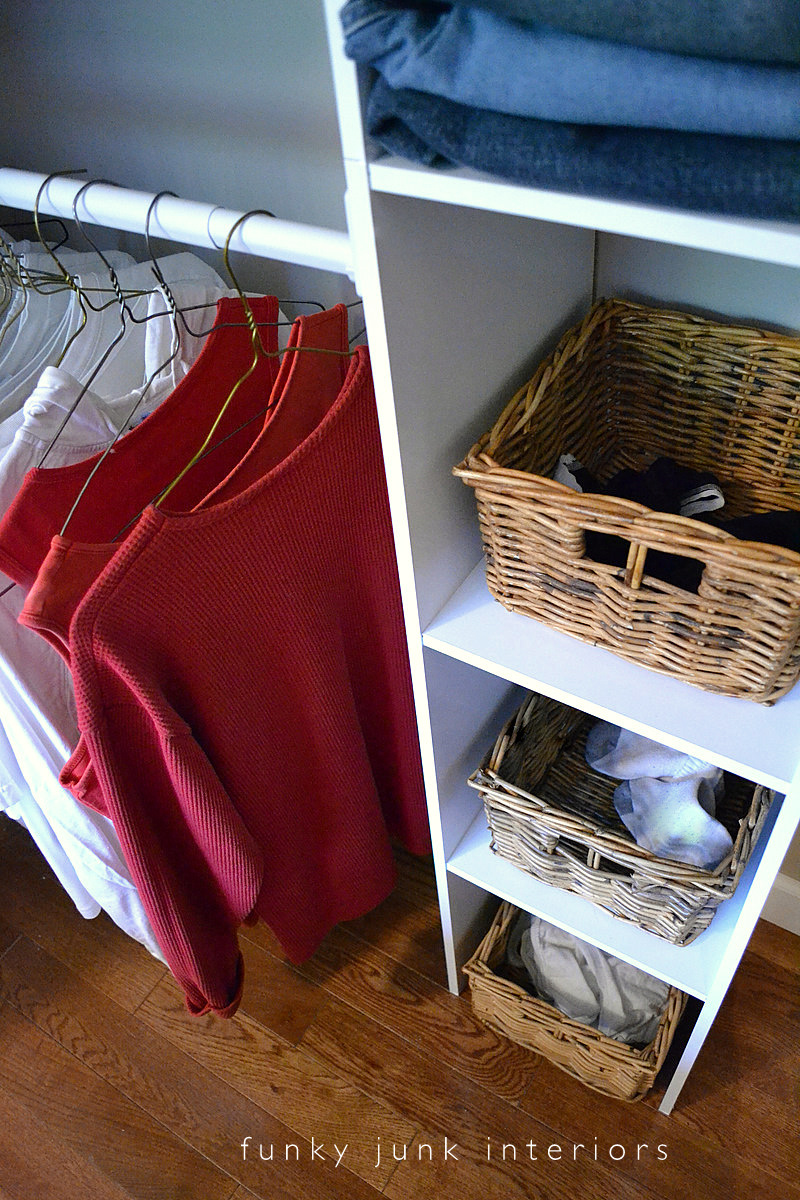

With room to spare! And yeah, I even color coded my shirts. :)
I also made myself a deal. I could slowly upgrade my wardrobe as I could afford it AFTER my closet was put in. No more excuses!!
I can also see this system working awesome for the entry way closet. Nice shoe and mitt storage!
I love my new closet! This system suits my simplistic needs and fits perfectly for this space. Additional and wider shelving appear to also be available as per the website, however I didn't see those options in Walmart.

Did you join the Parade of Homes link party?
Andy also revealed her own colourful home! Don't miss it!

No comments:
Post a Comment