
I've lived with two disaster zones for the last 3 years or so.

Exhibit A is the spare room closet. This horror is where my clothes and present wrapping stuff/crafts are stored.
Why would I stash my clothes in another bedroom other than my own you ask?

Because Exhibit B, which IS my closet, houses all the linens on the floor is why.
Why no bar? Because I painted this 3 years ago and needed a new place for the linens first.
Oh believe me, this is way complicated, so let's just fix up this mess so we can move on to new messes.
So, what's a person to do when they want storage that's:
instant
easy to build
strong and sturdy
price efficient
isn't permanent
doesn't ruin walls
you can do it yourself with few skills
~ Go Gorm ~

To me, this stuff resembles something someone would put in their workshop or garage.


However, if you see it with different eyes, it can become whatever you desire. You might say I've Gormed up my house pretty good. :)
Now let me show you just how easy this is to assemble. Trust me. Even if you don't know your way around tools, YOU can do this.
~ picking it up ~

Some of you on Facebook questioned what a junker could possibly like at Ikea. Gorm would be one answer. I'll share my other finds with you soon.
So why wouldn't I just go to a local big box store for similar shelving? LOTS of reasons.
~ why I love this particular system ~

Whoops! Wrong kit! Dang! I hate returns. :)

All hardware and instructions are intact.
No hen pecking from your own massive mess of screws.

It's solid pine. I like solid wood. No... I LOVE solid wood.

ALL holes are predrilled and it's totally adjustable for when you, you know, change your mind.


You can choose your depth of shelving. 3 or 5 boards deep. VERY cool.
And the one thing that makes this system totally unique?

You can get an optional extension kit that makes your shelving reach to the ceiling.
Triple cool!
~ the right tools ~

Hardish manual labor but better than nothing way.
(ratchets work and sound really cool but this next method is easier)
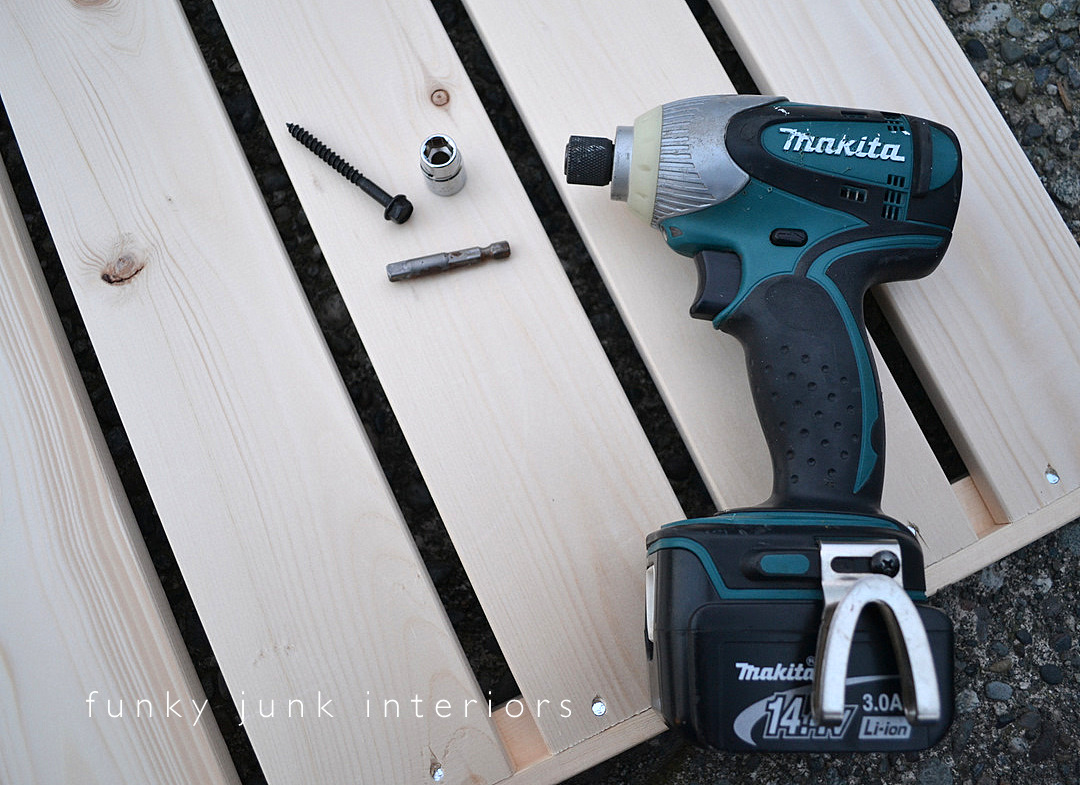
The oh so fast and easy way.


zzzzZZZZzzz

DONE.

I know. Sheer brilliance.
~ the assembly ~

I decided on the deeper shelving because of the perfect fit. Talk about meant to be!

Fair warning. As this product ages, it darkens. So if you love the blondish pine tone, I'd suggest to treat it before installing. But I wanted it done 3 years ago, so up it went as is.

You CAN do this all yourself like I did, but if you had a 2nd pair of hands handy, (that didn't complain) that would be pretty sweet.

The unit was built inside the room it was staying in. I attached legs on one side first, then flipped it over and did the other. The 2nd set of shelving was installed with this unit standing up.
Tips:
* leave enough room underneath for cleaning

left end

mid join side
* Post location matters.
If creating a side by side unit, ensure you select the right hole for the joining side.

* Keep all screws loose until all shelves and all posts have been assembled.
Then tighten the works up.


* Protect your hardwood floors. (these were not included)

Next - Bracing the back is important to stabilize the unit.

Predrilling holes makes the job abit easier but wasn't 100% necessary in this case.
Predrilling allows your screw to be placed in the right area without skidding and reduces wood splits, right Julie? :) Gotta check with the woodworking master here...


Painting it out white first would have looked very pretty.
But, you know... I was 3 years late. Gitter done! Uh oh, I'd better link this up to Songbird's Gitter Done event...
I didn't go right to the ceiling with this unit because I wanted the top space for pillows upon pillows with no midbar restriction.


The inspection crew appeared just in time. xo

Instant storage that can be removed and used elsewhere within minutes! A great fix for a closet you may need back again some day.


Here's a post
on how I painted and further customized the same type of unit for my blog office.


Here's a post
on how I painted and further customized the same type of unit for my blog office.
This project is part of a bigger deal I'm working on. I'm attempting to clean things up so I can find all my staging gear. Lots more to come. :)
And coming up soon, we're gonna build something all together with Julie's help! Stay tuned!
Need more storage yourself?
Think you could pull this one off?
(I have not been compensated in any way for this post. I just like the stuff. So if you go buy it, make sure they know who sent ya, ok? :) )

Link up your own procrastinated project this Friday!
Click the button for previous parties.


No comments:
Post a Comment