
Making a duvet is really not that hard. The most difficult part is simply getting the fabric cut correctly and handling the large amount of fabric while sewing!
Begin by determining the required finished dimensions for the duvet. Here it needed to measure 98 inches wide by 88 inches long, so four equal lengths of fabric were cut, each measuring 93 1/2 inches long by 52 inches wide.

Afterwards two of these lengths were cut in half, length wise, creating four pieces measuring 93 1/2 inches long by 26 inches wide.

Next, one 26 inch wide length was placed on each side of the 52 inch wide length, right sides together, and stitched in place using a one inch seam allowance. Note: The same or a contrasting fabric can be used for the underneath layer of the duvet.


Before sewing the two panels together, a finished edge was created along the bottom edge of each panel by turning up the fabric 1/2 inch and stitching in place.
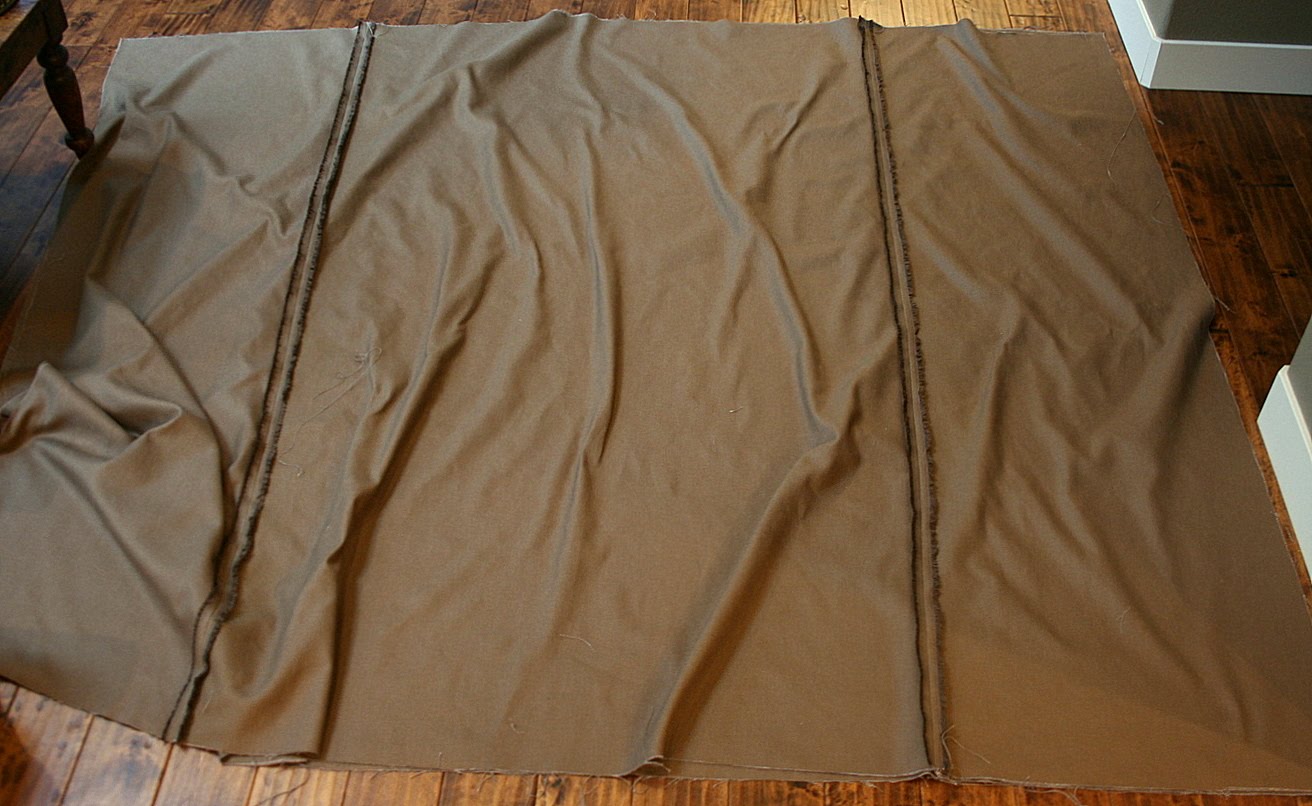

The two panels were then pinned and sewn, right sides together. The top and side seams were sewn with one inch seam allowances and the bottom edge with a four inch seam allowance, leaving an approximately three foot opening at the center bottom edge.

Ribbon lengths were pinned and sewn into place at each corner, creating ties to secure the comforter in place.

It is no picnic handling this vast amount of fabric while sewing...but luckily there isn't much sewing required!

After stitching the two panels together, the seams were pressed open and the fabric turned right side out. To create a closure at the bottom opening, four buttonholes were sewn on one side of the four inch seam allowance and buttons sewn on the opposite seam allowance. Finally the comforter was inserted and secured in place by slipping the ribbon through the loops found on the comforter corners.

The duvet turned out great, but once it was placed on the bed it looked a bit plain! I had opted for a simple duvet design as the fabric on the headboard wall provides all the pattern the room really needs, and I didn't want the bedding to compete with it. Still, the duvet needed something.

To remedy the situation I added a strip of ivory trim along the top edge, on the underside of the duvet. Placing it on this side allows the trim to show when the top duvet edge is turned back. Ideally I would have figured this design solution out prior to getting so far along in the project! While it was a complete pain, backtracking to add the trim was definitely worth the effort.

Next, I'll show how the throw layered over the duvet at the foot of the bed was made. Here's a tiny sneak peek of the blanket in the photo above...I just love the sparkle and bit of texture it adds to the mix of bedding!
No comments:
Post a Comment