
How I made a twig chandelier


Supplies:
Some kind of wire, clippers, needle nose pliers, scissors, twine, spray paint (something for wood is good), twigs of choice, chandelier to work with.


1. Gather stock.
Willow and grapevine branches are abundant in my backyard, so they were the lucky chosen. The great news.. they are both very pliable to move in whatever shape you desire! And that was critical for what I had in mind.
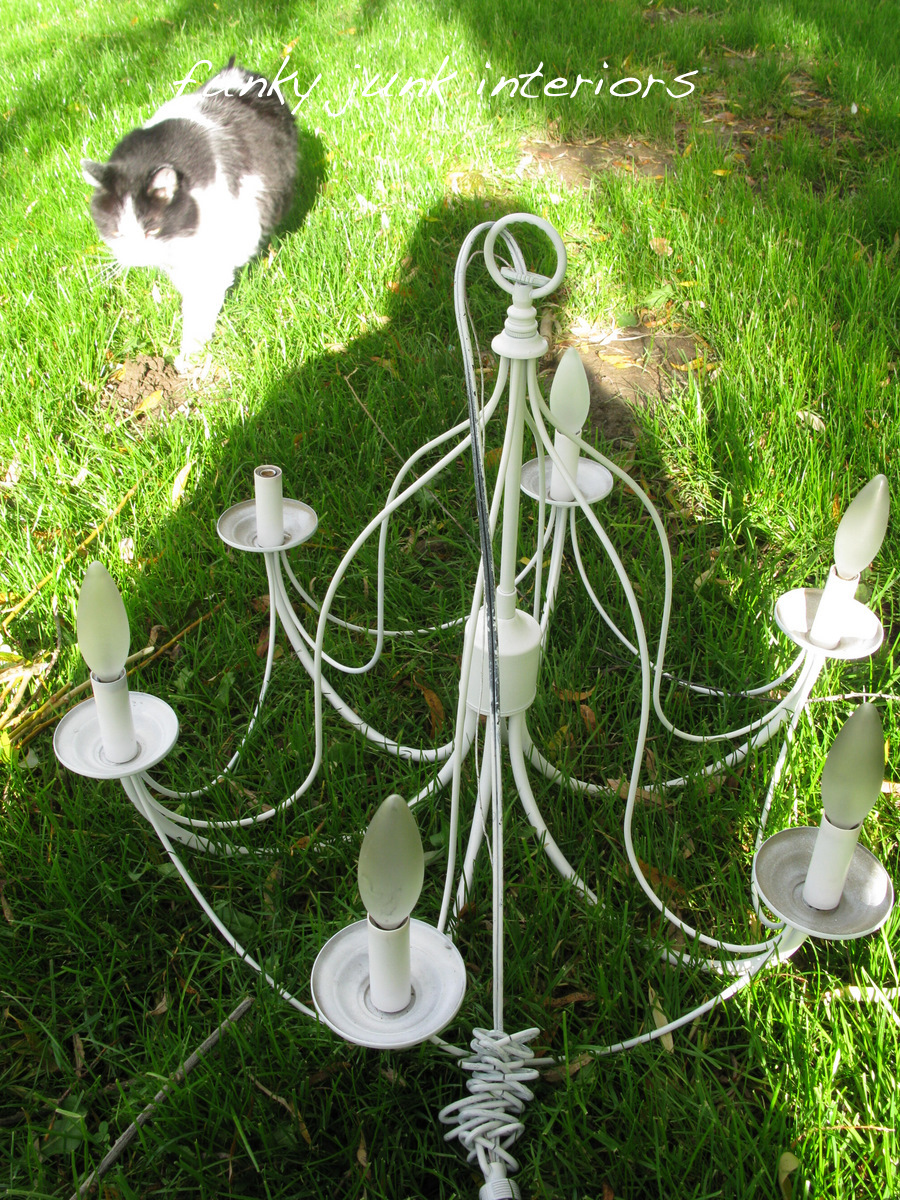
2. Find a cute chandelier with just the right lines.
I know. It's adorable as is, but this thing sat in my garage for nearly 2 years! I didn't even know if it worked. The electrical part held me back. So I went for it anyway with my new idea. I had a deadline here! :)

3. Find a spot to hang the chandelier.
I started the project in the backyard. I elevated the chandelier, stripped the leaves off all the branches and started fiddling, not having a flip flying clue what I was doing. And then it started to rain.

No worries! This is my photo shoot / work area that is outside yet protected from the elements. I found this view rather humorous with the cat sitting beside a birdhouse collection in decor transition. :)
Method

4. Bundle up the grapevine branches in one hand.

5. Slip them underneath the chandelier, using the table for that extra set of hands. (thanks rain, this was better!) Then fiddle around. Lots.

6. Tie the twine around the mid section to hold the vines in place.

7. Bend the branches towards each light, following the lines of the chandelier.

8. Tie the branches to each light with the twine.
9. Applaud me for these amazing shots done with one hand. :P

10. This is what you're left with so far. Give the chandelier a haircut so it's all nice and pretty like.

11. Spray the branches in white because the theme this weekend is white of course! Plus, the chandy was white which looked odd with the brown branches. If you want a woodsy one instead, prespray the chandy a similar colour to your branches so it fades away.

And this is what you have now! She's getting mighty cute like, but she isn't done with her makeover quite yet.

12. Use the willow for in between the lights. Attach with twine.
While I did use both willow and grapevines for the main body, the willows are wispy enough to bend whichever way you wish for this part.

13. Add some flourish with the willow branches to 'band' the ties. Simply wind around many times over, and wire them together where it won't show. (my son the assistant came in really handy with this part) The extra detail really made a big difference. Spray one more time and you're done!
Finishing details:
a) protect bulb openings before spray painting. Whoops!
b) after spraying, lightly distress with the edge of a stick to bring some paint off.. it looked better.
c) using frosted bulbs are easier on the eyes.
d) wire it up to a plug until the electrical can be officially connected properly. I was impatient. And a plug worked. I'll show you that technique in another post soon.
e) You will need to tweak the twigs once it's hanging in your home by simply pushing things here and there until it looks right.
f) My son didn't appreciate me doing that over his chicken soup. It's abit messy like. :)


14. Freak OUT because you actually have a kitchen island light that WORKS for the first time in two years! That's rather on the quirky side. :)
It really does look cute in the house against all the rustic whites in the kitchen area.

Remember my very expensive to die for inspiration?


I still love it.. but mine was pretty much free. AND it's white! :)


Dec 7th 2010 edition


No comments:
Post a Comment