
This is where the Bamboo Light Fixture project stood at the end of last week. All the supplies had been gathered with the only remaining item needed was some time to put it together. Using a large drum shade, a pendant light fixture kit, bamboo sticks, paint and a glue gun the goal of this project was to make a unique DIY light fixture to hang in the kitchen nook.

While working on the DIY Sunburst Mirror project recently, I realized bamboo sticks would have been a great alternative to the branches used. So I decided to try a similar project using bamboo, this time a shade wrapped with lengths of painted bamboo, creating a large pendant fixture.
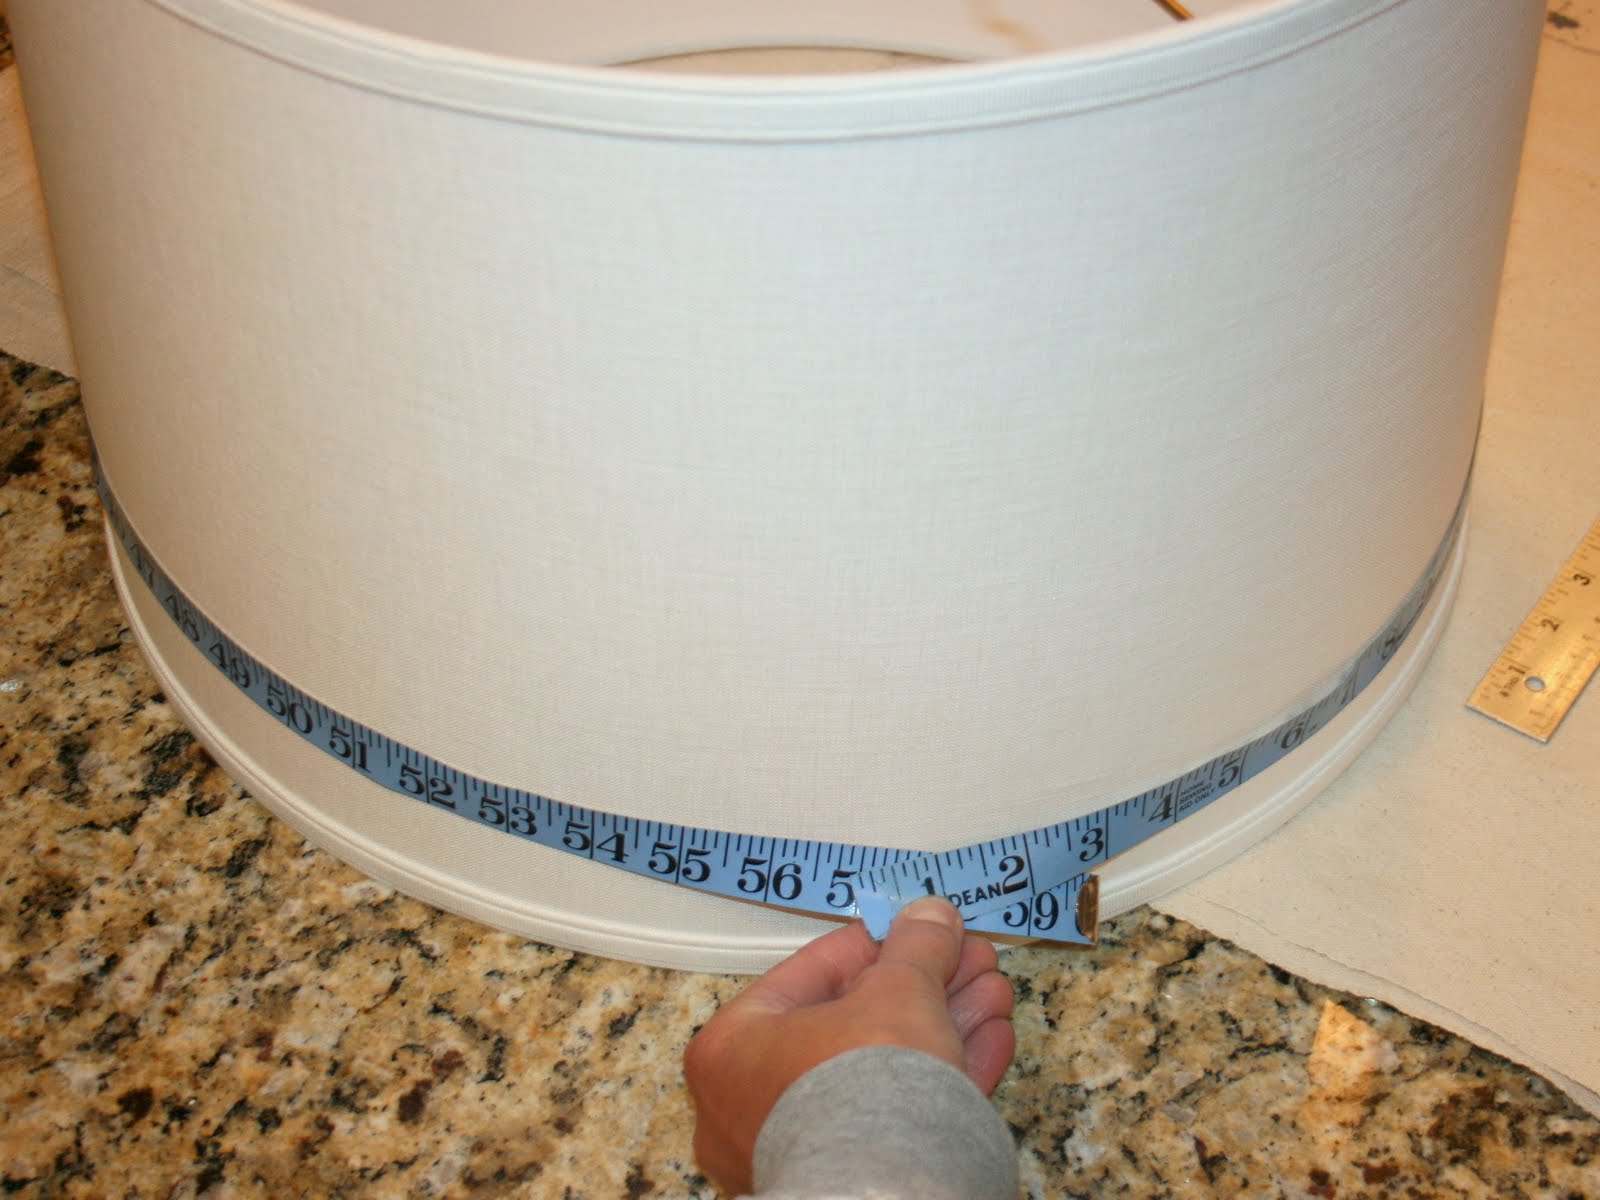
To make this fixture, begin by measuring the diameter and height of the shade. Add one inch to the height and cut enough bamboo lengths to cover the circumference of the shade, plus a few inches to account for any surprises.
(The shade I used measured 57 inches in diameter and 12 inches in height, and so the bamboo lengths were cut 13 inches long with enough cut to wrap around a measurement of 60 inches.)

Cut the lengths from straight pieces of bamboo and set aside any sticks that are too bent, such as the one seen in the above image.
(And yes, I again used a hacksaw. As a result I have put a real saw on my Christmas list, which will make doing this and similar projects much quicker!)

After cutting the bamboo lightly sand the cut ends to remove any rough edges by twirling the sticks on a piece of sand paper.

Once the bamboo is cut, lay the lengths down on a surface to paint. Space the lengths slightly apart for better paint coverage.


Turn the bamboo over and spray the other side with primer. Wait twenty minutes until dry to the touch.

Repeat these two steps with paint, and if you choose, a gloss finish. Spraying the lengths with gloss can be skipped if a matte finish is desired or if a paint with a gloss finish is used. (I looked for my favorite Heirloom White in a gloss finish but unfortunately could only find satin.)


Once the painted bamboo is dry, begin attaching the lengths to the shade using a hot glue gun. Start at the shade seam...

...and work around the shade. Make sure to vary the size of adjacent lengths of bamboo. While the diameter of the bamboo is fairly consistent, some lengths are thicker than others. Also vary the placement of the "nodes" on adjacent lengths to create a balanced pattern.

To attach the lengths of bamboo apply a small bead of glue on the band at the top and bottom edge of the shade.

Next position the bamboo over the glue and hold in place for a few seconds while the glue sets.


(This is the point where I knew I was going to LOVE this shade, seeing the interesting shadows and texture created by the bamboo running around the shade surface!)

Continue to attach the bamboo lengths around the entire shade, checking to ensure the bamboo is being attached perpendicular to the bottom edge of the shade.

Finally, install the pendant fixture kit and hang the lampshade on its hardware.
Thanks to help from my Dad, who assisted me in taking down the old fixture and installing the pendant kit, the bamboo light fixture now hangs above the table. I am pretty happy with the outcome, look for some "beauty shots" tomorrow...
No comments:
Post a Comment