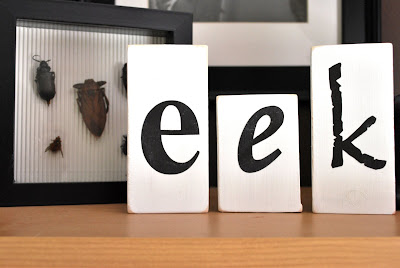
They look cute sitting there with our creepy crawly bugs. We have a wonderful friend who did his PhD work in entomology at one of the Universities near us. When he graduated and moved away, he gave us these pinned bugs as a gift. I think they are awesome! Especially since they are behind glass..not crawling around my house ;-) But I thought that the word "eek!" was fitting sitting next to them...hee hee!
I have had a few people asking how I made the little 3D paper stars I have featured a couple of times. Well, first I want to say that I got the idea and instructions right out of the September issue of Family Fun Magazine. Give credit where credit is due, I always say. That said, I tried to find their instructions online and couldn't so here is my version of a mini-tutorial on how to make them.
1. Make sure you get heavy paper. Scrapbook paper works great, but from my experience, printer paper doesn't work as well.
2. Cut the paper into strips 1/2" wide by approximately 11" long. I used 12x12 scrapbook paper and I left the strips 12" long... it doesn't really matter as long as they are at least 11" or so.


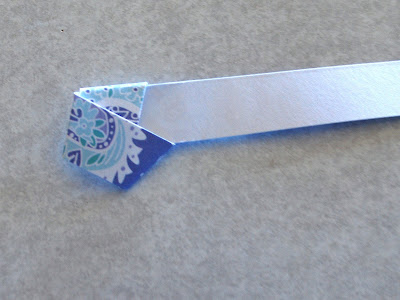
3. Begin by folding one strip into a "knot".

4. Cut the tail off so that it is flush with the edge of the "knot".

5. Begin folding the paper following the angles of the "knot"...continue folding until you have a pentagon.

6. Tuck the remaining edge into one of the folds.

7. Then with your thumb and pointer finger simple "squish" the corners. As long as the paper is heavy weight it will puff out into a little star!

That's it! Aren't they adorable?

OH, and one final thing...Next week is my 50th blog post so I'll be doing my first giveaway! Make sure you stop by and enter!!!
Have a Wonderful Weekend~
No comments:
Post a Comment