Showing posts with label wedding decor. Show all posts

Monday, May 30, 2011

Wedding Photos

In my last post I showed how I made the centerpieces for the wedding open house I decorated.
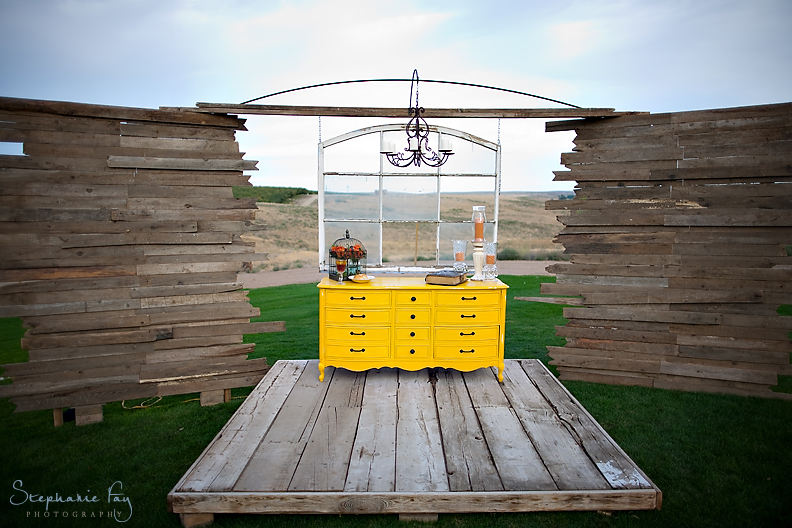
It was a pleasure to work with this young couple you see in the photos. I am not a "professional" wedding designer/planner but I do find enjoyment in helping newlyweds make their celebration special. They were looking for something unique and I think that's the look we were able to achieve. Their colors were bright pink, yellow, and turquoise.
The couple loved parts of the backdrop from another wedding I had done but they weren't happy with the center/door area.
So I came up with an idea they did love.
I gave my outdoor patio furniture pieces a fresh coat of turquoise paint and found some coordinating fabric to hang in place of the door. I added in some lighting and brightly painted pink windows. The backdrop took on a whole new look.
They were thrilled with the result. And their happiness was mine!

Friday, May 27, 2011

Yet Another Paper Wreath Tutorial

If you do a search for paper wreath tutorials you will likely find a bazillion. There are folded paper wreaths and rolled paper wreaths just to name a few. I'm sure there is already at least one crunched paper wreath tutorial, yet I will add another just in case you haven't had the time or inclination to search. Paper wreaths are so popular because they are relatively inexpensive. However they are time, paper, and hot glue stick consuming. Each of the wreaths I made as centerpieces for the wedding reception took about an hour.
I started by using a simple wreath from the dollar store.
In order to camouflage the wreath, as well as make it easier for the crunched paper to stick,
I first covered it with strips of sheet music.
This was when I received 75% of my hot glue burns so be very careful with this step!
Next I cut pages from a music book into fourths.
My wreaths were covered completely on all sides so each took an entire music book that was about the thickness of a magazine.
Using one piece of quartered paper, I placed a dowel (a pencil would also work) into the center of the paper and then crunched the paper around the dowel.
Making sure to first flatten out the crunched end a bit for more surface area, I then applied hot glue.
Next I used the dowel to place the crunched paper onto the wreath.
I continued. . . and continued. . . and continued until the wreath was covered.
***I will now impart what little unique knowledge I gained from this procedure***
If the paper is thin it will adhere much faster than if it is thick and stiff. The stiffer the paper the longer the wait time for the glue to hold. And while you may think that the paper is stuck you will soon find out that the little stinkin' stiff paper will try to hightail it right off the wreath just as you are placing the next piece causing you to grab said piece and possibly cause additional finger burnage.
After the wreath was complete I lightly sprayed each with the desired color of spray paint. To give them more color and interest I added in pieces of crunched colored tissue paper.
To make them hang I hot glued on some evenly placed ribbons and glued the ribbons onto a large dowel that had been glued into a piece of 2x4. The dowel was topped with a finial painted to match the wreath and ribbons. I then adhered photos of the newlyweds onto the ribbon.
The centerpieces resembled little maypoles which was very appropriate since it was a May wedding.

Monday, April 18, 2011

Centerpiece, Centerpiece, Centerpiece

We've been hired to decorate for another wedding! The open house is in May and their colors are bright, saturated versions of pink, yellow, and turquoise. Fortunately the couple likes the style of the backdrop from the last wedding we did. We will, however, be doing some modifications in order to make it unique to them. I'm also making new centerpieces for the tables. I made up three for them to choose from.
I thought this little dowel tree was fun and Spring-y.Then there's this hanging music page wreath that reminds me of a May pole.My favorite is this faux candelabra.They chose to use the oversize candelabras on the serving table and the May pole page wreaths on the guest tables. I'll be making the wreaths in the three different colors. Although I'm a little worried about hot glue gun burns from making that many wreaths (I burn myself practically every time!), but their happiness is definitely worth a blister or two.

Friday, January 7, 2011

Not Your Average Wedding Decor

Our friends hired us to decorate for an open house celebrating the marriage of their son and daughter-in-law. Since they would also be having a reception in another city this meant that things could be a little less formal (which thrilled me). I asked (perhaps begged) if they would trust me to design something fun and unusual. Fortunately they allowed me.
I was inspired by this photo of an outdoor wedding
that I saw circulating on the internet.
(Stephanie Fay Wedding Photography)
This is how our version looked.
Entrance into the building. Entry and gift drop off. "Filler" decorations. Centerpieces. Backdrop.

Monday, November 29, 2010

Our Workshop

Our kitchen is beginning to resemble a workshop (an odd place for a workshop but with a foot of snow outside, it's warmer than the garage). We've been hired to decorate for a December wedding. The young couple will be having both a reception and an open house. We're decorating for the open house which will be less formal. I'm thrilled because I've been able to be more unconventional with the design. We'll be using an old door and weathered wood to build the backdrop and more weathered wood for crates that will hold bare branches.
These boxes made from rough cedar are a part of the centerpiece design.They'll be topped with wire trees that I'm creating.It's so exciting to be given the creative freedom
to make what I see in my head!

Monday, June 22, 2009

Back-up Plan

Our wonderful friends planned a garden reception for their newly married son and daughter-in-law. Several weeks before, they asked if I would be the "back-up plan" in case of inclement weather. I happily agreed. Unfortunately we have been experiencing unseasonably rainy weather and Saturday was no exception. At noon I was called when it was decided that the reception would be moved inside to a nearby church. The bride's parents had plenty of little lights, oodles of beautiful flower pots, and lengths of picket fencing to give a garden ambiance, but I wanted to add just a bit more. So with the wheels in my head spinning and my hubby as my creative accomplice, we went to work on Plan B.
We used four old and weathered porch columns given to us by our good neighbors. We added a top to attach them together. The columns stood firm and became a pergola over the wedding cake.
Then we pulled out two french doors (Yes, we really do have these things on hand---stored in our garage, where most people park their cars). We cut and painted a few pieces of wood to slip on top of the doors. This tied them together so they'd stand on their own to form a unique and pretty garden trellis; a perfect spot for the bride and groom to greet their guests.It was a whirlwind of a day, but I think the bride and groom were pretty pleased with the back-up plan.

Wednesday, March 19, 2008

My Darling Daughter's Wedding Decor


My only daughter just got married a few weeks ago. She requested that I be the one to decorate for the reception. I've decorated for other receptions and wedding luncheons by improvising with what I had on hand. But since she's my only daughter, I felt like I needed to do more than just improvise. Now mind you, I would NEVER recommend decorating for your child's wedding because, if you're like me, you look back at pictures of yourself and see only a very puffy-eyed, tired looking mother of the bride. But how could I say no to my one and only daughter, as well as to the opportunity to stretch my talents?

So the process began to design a backdrop that was simple yet elegant. It's so nice to have a husband who helps take my vision and make it a reality. I design, he builds, I paint and do the finish work. We make a great team!

The backdrop is made from wood and the center is embossed wall paper that I painted to look like tin. My daughter's wedding colors were red and black with a little silver thrown in to honor the glam of the girly-girl that she is. We also made the columns and centerpieces to go along with the backdrop. She was very happy with the outcome which made all the work worth it!!!