Showing posts with label Fixture Redesign. Show all posts

Tuesday, June 14, 2011

Lighting Happiness!


It only required several steps. 


From removing the black spray paint....


...to adding bobeches...


...bulbs, crystals and new chain.


And hiring help, I (almost) never hire help, to move the box and hang the new fixture.


(Why the dishes & such, you ask? Getting ready to entertain & feeling too lazy to move it all for pictures!)


But finally, this "fixture redesign" is done!


Before


And...Happily Ever After!

Monday, June 13, 2011

Aging Chain...Instantly!

When I selected the chain to hang the light in the dining room, I knew its finish might be a bit too shiny to coordinate perfectly with the aged brass on the fixture. It had proved to be very hard to find a style with the same finish, but I figured something could always be done to adjust it. My suspicion was confirmed when I picked up the chain, after getting a call it had arrived. Fabulous design, but a bit too shiny. So I came home and quickly tried to figure out how to age it instantly. The electrician was scheduled to arrive early the next morning and the kids and I were supposed to head out to an event right after they got home from school. No time to waste!


{the chain was much more gold and shiny in person, always question catalog photos!}

I pulled out a tube of Rub 'n Buff in Antique Gold, better. It took down the shine, but also added a bit too much orange tone. So a little paint was introduced to the mix, and I started getting dirty.


I ended up with an interesting manicure from this little DIY project. Yes, I should have grabbed gloves, but I was under a time crunch.


Later in the evening when I got home, everything had dried and I checked out the color against the fixture.


Really good.


p.s.
Look at the pile of clutter I was able to clear out during the neighborhood garage sale this past Saturday.
Now the goal is to not accumulate more, so I do not find myself participating in next year's sale!


Tomorrow, finally the fixture has been hung and I will have photos to share. The electrician had quite the time, moving the location of the box to be square to the window and centered on the table...but he succeeded and I am thrilled!!

Thursday, May 12, 2011

I've Been Banned From Future Use of Spray Paint!

Now that the beautiful brass has been revealed after hiding under layers of spray paint primer and matte black for the last two years...I officially banned myself from using any spray paint. (At least until I weigh the consequences for an adequate amount of time to ensure I will not regret my actions!)


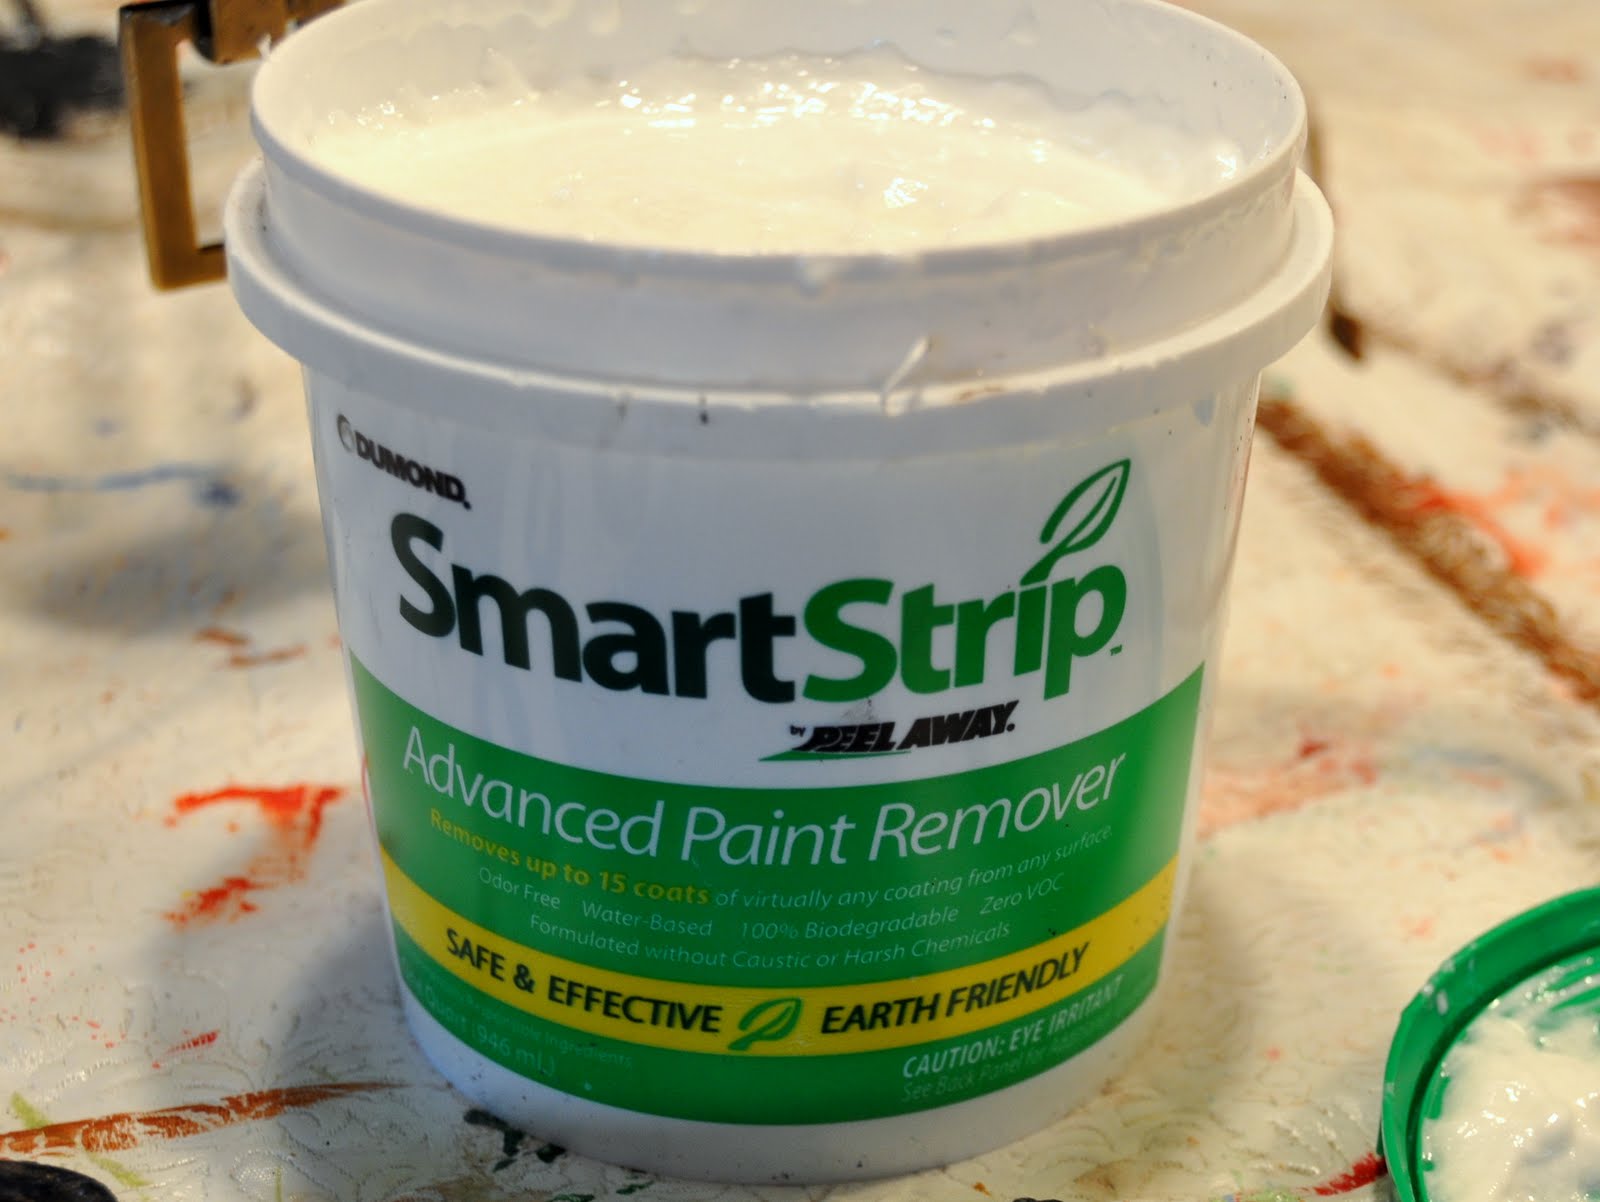
After exploring several options to remove the paint, Smart Strip did the job.


The arms and smaller areas required a couple applications, to get all the little stubborn flakes of paint out of the corners and cervices, but all I had to do was wipe on Smart Strip, wait an hour or so, and come back to wipe away with an old towel.


Then I put on one of the brass bobesches I found to dress up and add a little funky character to the strong clean lines of the fixture, to see how they looked now that all the black paint was removed.


Aren't these fabulous!


Yeah, a great match! I hadn't been completely sure the metals would end up being so similar.


Before, prior to the paint being removed.


And after...(these crystals are extras from another chandelier, next I'll need to find the ones I'll be actually using on this fixture.)


And now the light fixture is off to the lamp shop, to get a longer wire installed so it can be hung in our dining room...more slow progress, huh?!

Wednesday, May 4, 2011

Simply Brilliant: Smart Strip!

While looking for a light fixture to hang in the dining room, I remembered a fixture sitting in the garage that could possible work. The problem? I had previously painted the lovely brass with not only black spray paint, but PRIMER!! Obviously my intention had been to have the paint adhere extremely well, never in a million years thinking a day would come when I'd want the brass back!


After chipping away at the paint with a plastic implement proved to be successful, but excruciatingly time- consuming, I went online to see if there was advice for preferable methods.


One suggestion was to use a hair dryer. Yes, I just went back and looked at the article to confirm I read correctly. This in no way worked even remotely!


So I ordered up a can of Smart Strip, inspired by these claims:

Smart Strip™ by Peel Away® Paint Stripper is user friendly and does not contain methylene chloride, caustic or toxic chemicals. Smart Strip™ by Peel Away Paint Remover will NOT Burn Hands. Water based paint stripping formula. 100% biodegradable paint stripping product. Works wonders on painted brick, all kinds of wood products, metals, stone, plaster, concrete, fiberglass and much more! Great for Acrylic Paint, Latex Paint, Lead Based Paint, Oil Based Paint, Shellac, Stains, Urethane and Water Based Paints. AMAZING RESULTS.


After it arrived I laid out a heavy plastic tarp and slathered it on. (After a test, of course, to see if it would damage the brass. Thankfully it didn't.)


Then I waited, a couple hours...


...and then I noticed this! The paint was beginning to bubble up from the brass!


On the cap the paint literally did just peel away.


The smaller areas of the fixture are proving to be a bit more demanding, but wow. A product that actually has lived to to its claims! So...if you ever find yourself in my situation, regretting a paint job, you know what to do.

{And I wasn't even paid to say this!}

Tuesday, April 26, 2011

Bobeshe Happiness!

Not that I even knew what a "bobeshe" was until recently. It is the proper name for a key part of many chandeliers...

"A bobeshe is a cup or ring at the top of a candlestick, used to catch melted wax running down the side of the candle." - wikipedia


But, by whatever name, I'm feeling nearly giddy with the set of six that arrived on my doorstep Saturday!


I placed a couple on the brass chandelier, which is in the middle of being cleaned of paint.
{Try to imagine the black as brass.}


Then I dug out a few spare chandelier crystals sitting in a drawer, to get an idea of the size and shape that will look best hanging from the tips.


I am just loving the funky edge these elements bring to this tailored light fixture. Oh, I'm beginning to think the end result of this light redo is going to be just fabulous!

p.s. and yes, technically, the bobeshes are meant to be attached facing upwards, but I prefer them this way; better seen from below and it is how they fit on this particular fixture. I did say funky, right?