Showing posts with label Dining Room Redesign. Show all posts

Friday, November 18, 2011

I Can't Find A Single Reason Why This Shouldn't Be In My House

No. I can't think of a single good reason.
{well, okay, the money thing}


Would it be strange to ask for wallpaper for Christmas?


Tuesday, June 14, 2011

Lighting Happiness!


It only required several steps. 


From removing the black spray paint....


...to adding bobeches...


...bulbs, crystals and new chain.


And hiring help, I (almost) never hire help, to move the box and hang the new fixture.


(Why the dishes & such, you ask? Getting ready to entertain & feeling too lazy to move it all for pictures!)


But finally, this "fixture redesign" is done!


Before


And...Happily Ever After!

Monday, June 13, 2011

Aging Chain...Instantly!

When I selected the chain to hang the light in the dining room, I knew its finish might be a bit too shiny to coordinate perfectly with the aged brass on the fixture. It had proved to be very hard to find a style with the same finish, but I figured something could always be done to adjust it. My suspicion was confirmed when I picked up the chain, after getting a call it had arrived. Fabulous design, but a bit too shiny. So I came home and quickly tried to figure out how to age it instantly. The electrician was scheduled to arrive early the next morning and the kids and I were supposed to head out to an event right after they got home from school. No time to waste!


{the chain was much more gold and shiny in person, always question catalog photos!}

I pulled out a tube of Rub 'n Buff in Antique Gold, better. It took down the shine, but also added a bit too much orange tone. So a little paint was introduced to the mix, and I started getting dirty.


I ended up with an interesting manicure from this little DIY project. Yes, I should have grabbed gloves, but I was under a time crunch.


Later in the evening when I got home, everything had dried and I checked out the color against the fixture.


Really good.


p.s.
Look at the pile of clutter I was able to clear out during the neighborhood garage sale this past Saturday.
Now the goal is to not accumulate more, so I do not find myself participating in next year's sale!


Tomorrow, finally the fixture has been hung and I will have photos to share. The electrician had quite the time, moving the location of the box to be square to the window and centered on the table...but he succeeded and I am thrilled!!

Thursday, June 9, 2011

A Simple Way to Add Ambiance to Rooms!

I have a few pet peeves when it comes to interiors, and high up on the list is harsh lighting. I don't care what else is done in the space, if the lighting is wrong, the space has no way of living up to its potential. This is where the beauty of a little thing called a dimmer switch comes into play. Super cheap and super easy to install!

Back when we were having our first house built, I remember my surprise at the upgrade charge of sixty dollars to add a dimmer...per switch! Seriously, I thought? I've seen those things at the hardware store for under $10, how hard can they be to install? I quickly found out not hard at all, as I had none installed while the house was built, but went to town adding them afterwards.


When I purchased the cute little round bulbs for the fixture to be hung in the dining room, I realized I would need to also install a dimmer in this room, so picked up one at the same time.


Now while the actual dimmer only took me 5 minutes to install, finding the right switch to turn off at the breaker box took several times longer. Irritating! I literally tried every single option until I found the one that turned off the dining room light. Turning one off, coming back in to see if the light was off. No. Back out. Again and again! Talk about bad guessing. Obviously 'dining room' was not labeled on the panel, but it is now!


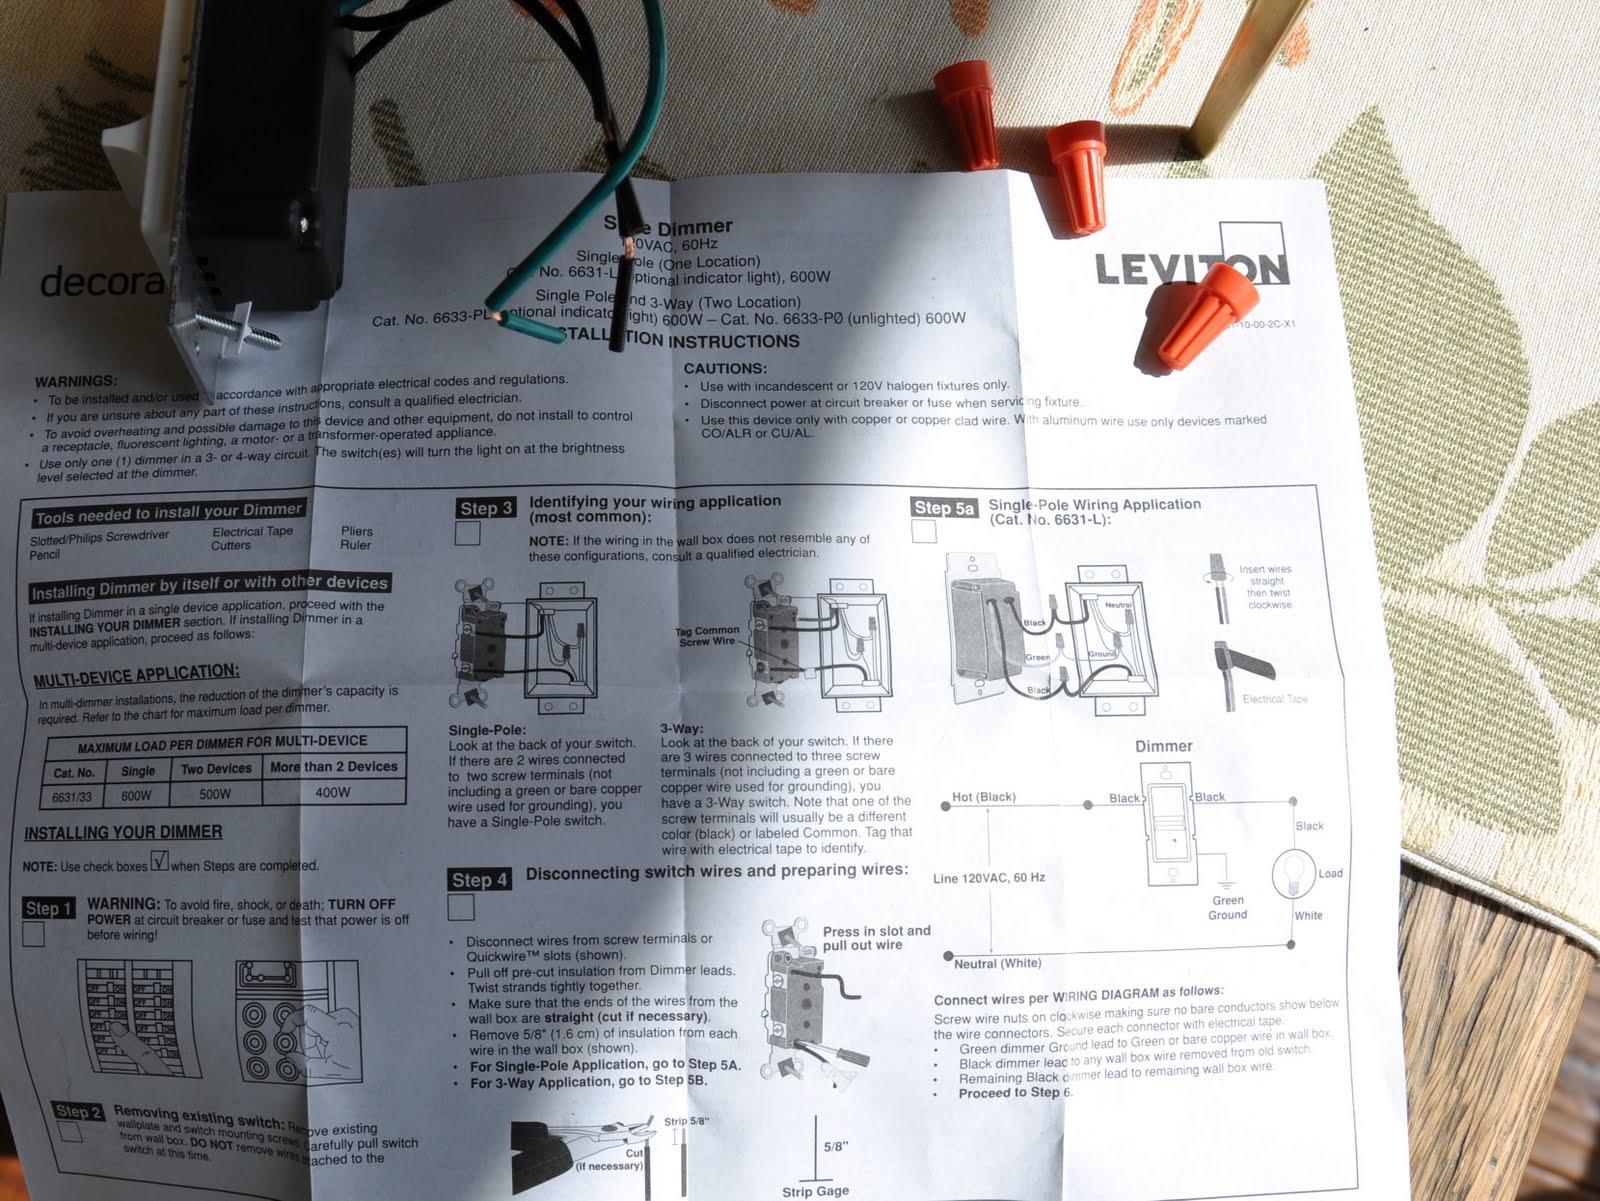
Once I was out of danger of shocking myself, I refreshed myself with the directions...


...and removed the wallplate to pull out the switch.


The hardest thing, apart from the breaker box issue, was releasing the wiring from the original switch. You are supposed to insert an object into the tiniest of holes to release them. Digging around in my tool box I finally saw one of my Allen wrenches was small enough to fit in and do the job.


Then the new dimmer switch was installed, connecting the wiring by screwing wire nuts over them clockwise.

{Disclaimer: Before trying this project, obviously refer to the directions provided in the purchased dimmer!}


Tip: Test to make sure the dimmer has been installed correctly before proceeding, by turning the power back on to see if the fixture lights up. I've not done this before and have wasted a lot of time!


Once I knew the switch had been installed correctly, everything was tucked back into the wall box, the switch secured with screws...


...and the wallplate put back into place.


Bright.


A little less bright...


...fading to soft light.


Dim.


And finally, barely there light.

It will be even better once the new fixture is installed, and I just got a call, the chain has arrived!
No more delays.

Tuesday, June 7, 2011

Waiting...

I'm hoping about this time next week I'll be seeing this light fixture hung above the table in the dining room! About time.


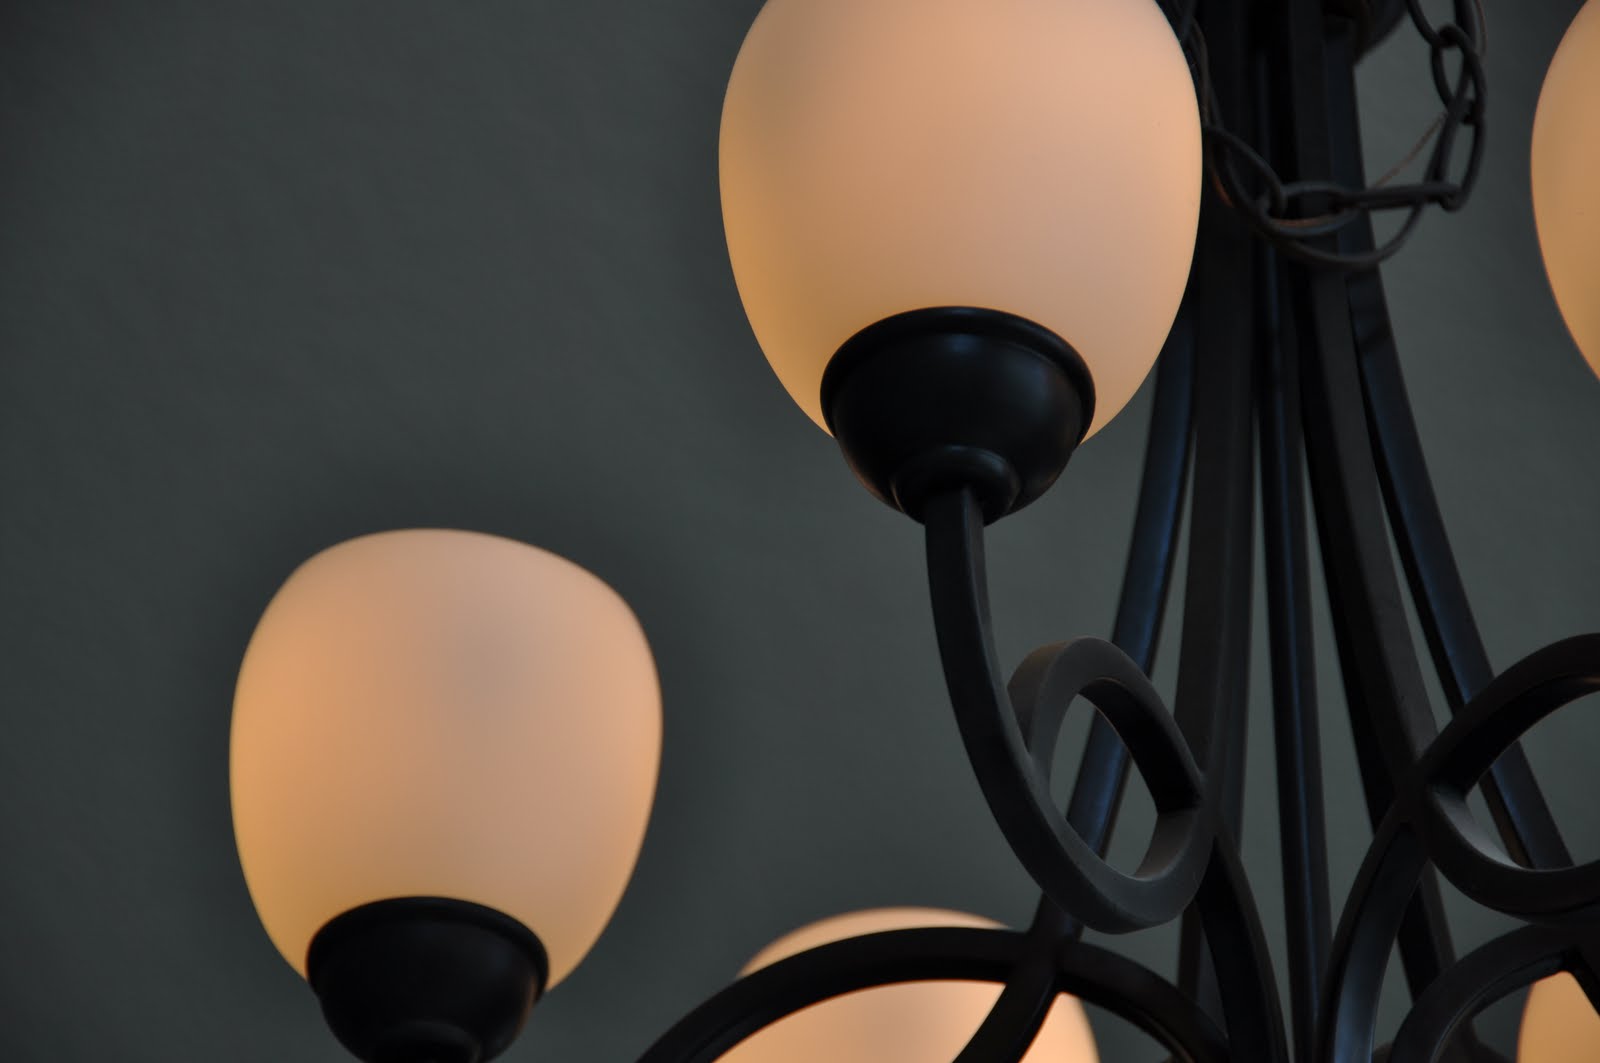
The latest addition: funky simple round bulbs.


LOVE. Picked them up while at the hardware store selecting paint for Max's bike paint job.


They remind me of bubbles...


So what's the hold up? I'm waiting on the fabulous brass chain to arrive. There wasn't enough length of the original chain to hang this fixture from the higher ceiling, so I took this opportunity to add some more style to the fixture. This is a detail that often gets overlooked, but when I spotted this style at Naomi's Lampshades & Lamps I couldn't resist.


Time to make a call to the electrician; this is one fixture (at this height!) that I won't be installing myself.

Monday, May 23, 2011

The $1950 Light Fixture I Attempted to Sell on Craigslist for $50


Even if nothing else about the trip to NYC proved to be beneficial (which wasn't the case), it would have paid off in this way: I now know the value of my light fixture. And I am just a little surprised!


An identical brass light fixture is currently available through Arteriors for $1950. I paid around $190, snatching up a floor sample a few years ago. A good move on my part for making the purchase! But then I took a misstep and covered it with a layer of black spray paint. Why on earth did I do such a thing? Because I just wasn't that into brass way back then...were you?


Afterwards it hung in the kitchen nook for awhile. But eventually I took it down, never completely happy with the look of it, having lost much of its luster with its new finish. The fixture lived in the garage for an extended time, and I even listed it for sale on Craigslist in its paint covered condition for $50. I didn't get any bites. Thank goodness, a second misstep averted. (Can you imagine how I would have felt spying this fixture in the showroom last week had I managed to sell it on Craigslist?!)


Later when looking for a fixture to hang in the dining room, I realized if only I could figure out how to remove the paint I'd have a wonderful contender. These posts show that journey of discovery. Through trial and error I eventually found success with Smart Stripe...and oh am I glad I did!


{mid paint removal}

Yes. Identical. Wow. Happy Me. 

The fixture is all clean of paint and has just returned from the lamp shop, getting a longer wire to allow it to hang from the high ceiling above the dining room table.

So now I'm curious, do you have a story of a great find, of regretting altering a piece, or of an averted misstep? Please do share!

(p.s. This experience has furthered my resolve to be mindful of what I paint in the future!)