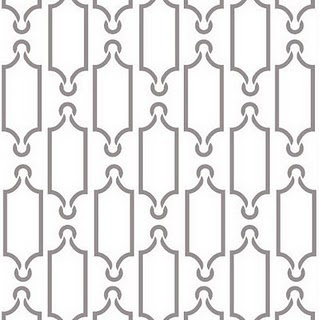
One of the rooms I worked on last summer was Isabella and Max's bathroom, adding a frame around the plate glass mirror and other small projects including installing new light fixtures, towel rings, a chalkboard for reminders and applying a new paint color. The plan was to also paint a stenciled pattern to the wall opposite the mirror, but before that could be accomplished I had to move on to other jobs.
What better way to start the new year than to address an uncompleted project. So I pulled out the stencil and materials to get started!
hall bath before
after
This is the wall that is about to get dressed up with the stencil pictured below.
The stencil was made for me by Whitewall & Co. based on a design I have used in previous projects, seen here and here.
Using a stencil brush, paint matching the millwork in the room, paper towels and a ruler I got to work.
After determining the layout of the pattern on the wall the stenciling began.
The portion of the wall covered by the chalkboard is marked by tape. Why take the time to stencil behind it, I say!
For more specific details on how to stencil a wall, see the tutorial written for hgtv.com by clicking here or here.
Look for final pictures of the completed room and this wall tomorrow, only several months after I began working on the Hall Bath Redesign. But...better later late than never, right?


No comments:
Post a Comment