I get questions and emails all of the time about the camera I use and my photography skills. I have to say, I’m completely honored that you would even ask. I must preface this post by saying, I know very little about photography and am NOT an expert in any stretch of the imagination. I would be offending professional photographers by claiming as much.
I do love photography though, and have for years. I first knew I loved taking photos in an 8th grade photography class – the kind where we actually went into a dark room and developed our own photos. Seriously, that is still one of the coolest skills I’ve ever learned. I couldn’t do it now to save my life, but thankfully, I don’t have to cause of this little guy: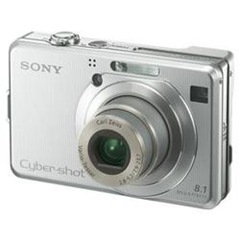 That's my camera. The prices of digital cameras has gone down so much over the years. My dream is to have a big, fancy, wide-lens camera someday. But that’s a minimum $600 purchase, and needless to say, it’s waaaaay down on the list. ;)
I have learned a few tricks with my humble little camera that help to take some great pictures, and I thought I would share them with you. I used some Christmas decor as examples. (You know I had to sneak them in!)
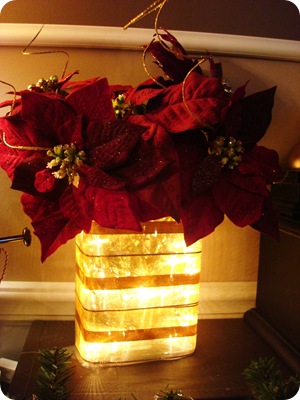
First suggestion rule – avoid using the flash at all costs. This is especially important when taking pictures around your home. I fell asleep on the sofa this afternoon, so I didn’t take pics till it was dark (5 p.m.!), and even a darker picture is better than one with flash:
A flash completely washes out the subject, and kind of morphs the true colors. See how the flowers above left look pink, and the walls look purple? Yup. That’s what I mean. And it’s just too harsh for my taste, I would much prefer a slightly darker picture any day.
Taking pictures without the flash takes some practice. You need a steady hand. I lean my arm on anything I can – a chair, the wall, my knee. Otherwise you get blurry pictures. Sometimes, a picture without the flash just won’t take right – I’ve had this happen numerous times.
Suggestion No. 2 – be creative with angles. Instead of taking all of your pictures head on, consider taking them from the side. It just makes it more interesting, in my itty bitty opinion. The example on the left is with flash, straight on, the one on the right is no flash, from the side:
Again, a bit softer, a whole lot more interesting.
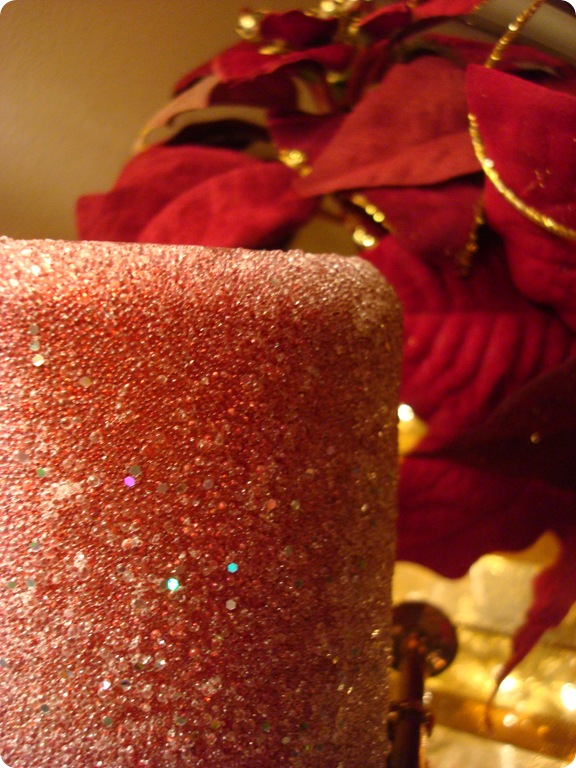
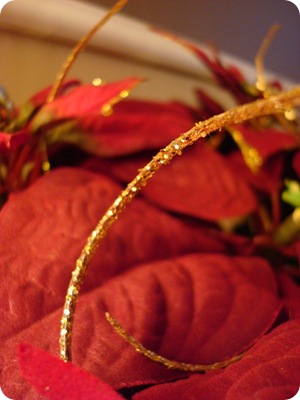
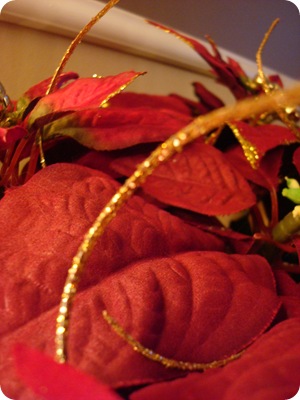
Even the cheapest digital cameras have tools you can use. Mine has a close up option that I use all the time. It allows me to get right up on the detail. You may have to take a few pictures to get the result you want -- the camera may focus in on different subjects in the frame in each picture.
In the pic on the left, it focused on the glittery branch. On the right, the leaves. I think either one is super cool:
Suggestion No. 3 – try cropping pictures or focusing on specific parts of the subject to make a more interesting photo:
Cropped: No, I’m not callin’ you a…
Sorry, I couldn’t resist. You KNOW it was going through some of your minds. I know my Squeezies. I do.
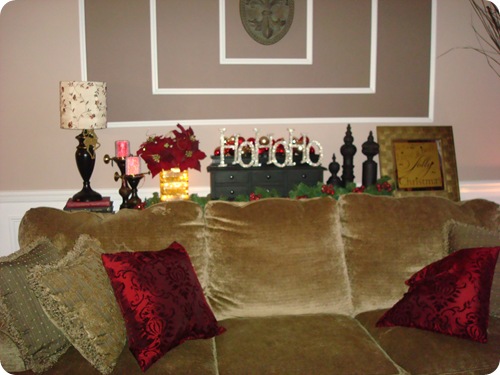
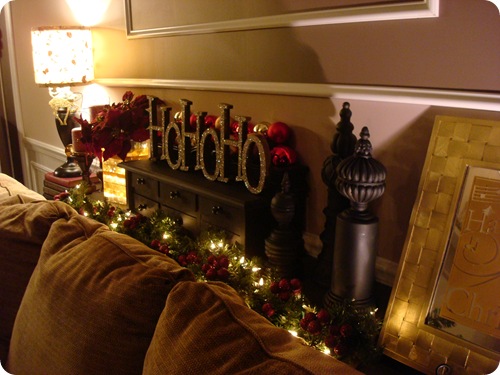
Here are suggestions one through three put into practice on a wider shot:
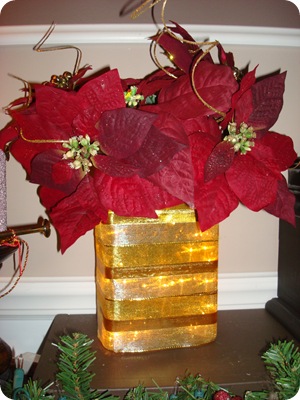
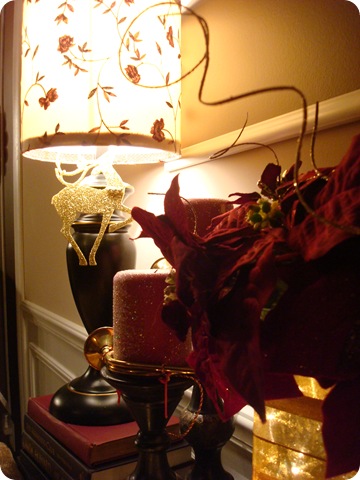
One final tip – use different angles whenever you can. Including other items in the background makes the picture a bit more interesting:
Getting shots like this may take some gymnastics on your part. I’ve been in some interesting positions trying to get a picture with a unique angle. Just make sure no one is watching. :)
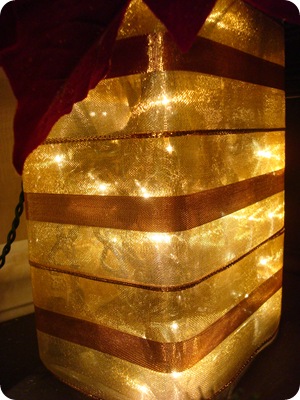
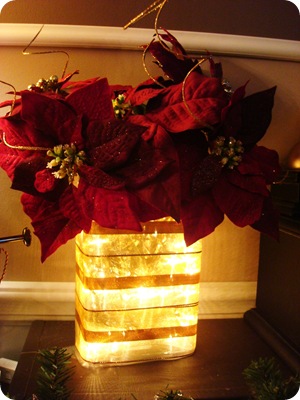
By the way, the floral arrangement is just a glass vase with lights inside. I wrapped ribbon around it to hide the wires:
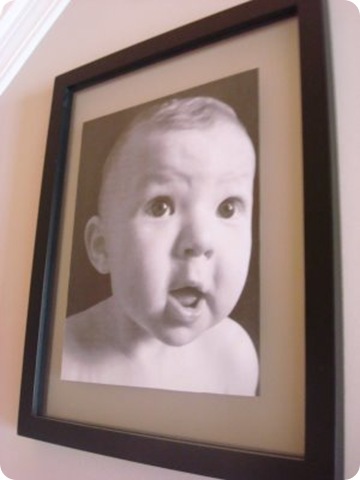
I have taken all of our favorite pictures of the Bub. Taking my own was SO much less stressful than trying to get a good shot at a photographer. That has always stressed me out! I guess it’s the money factor. ;)
I took all of the photos that go up our staircase wall:
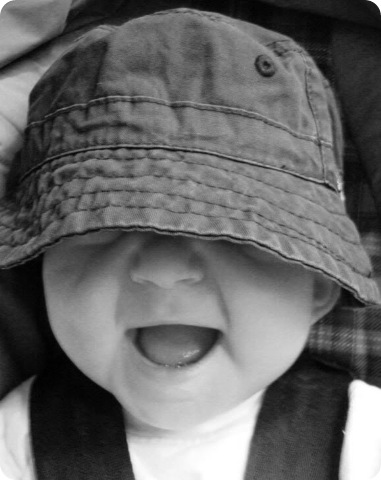
I had my camera with me at all times when he was little, and with a little cropping and black and white action, a picture taken in the middle of Old Navy turned into one of my favorites:
We have been so incredibly fortunate to travel to some amazing places because of hubby’s job. I look back on pictures and feel like they were a dream…I doubt I’ll visit places like this again, but who knows?
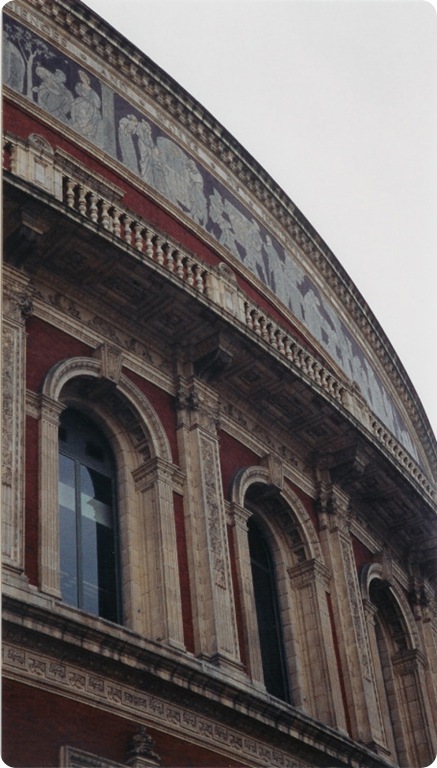
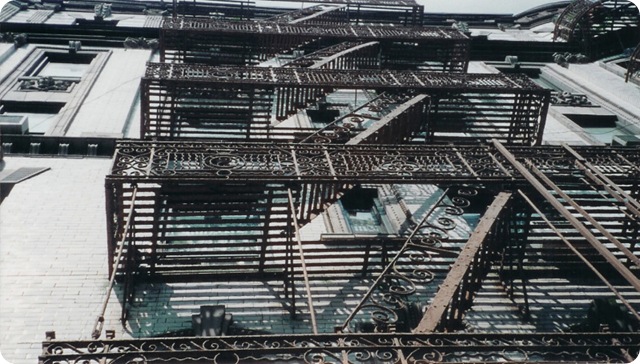
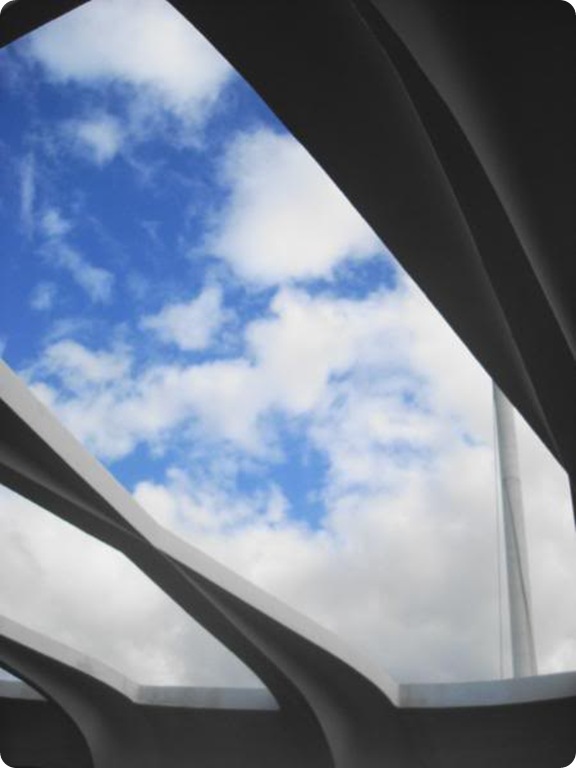
I like finding the unique architectural designs or taking pictures from different angles. (Most of these are scanned so the quality isn’t great):
A coliseum in London:
Fire escape in NYC:
Notice it’s not centered? On purpose! But a quick crop will fix it if that gives you the hives. :)
Roof of the Pearl Harbor Memorial:
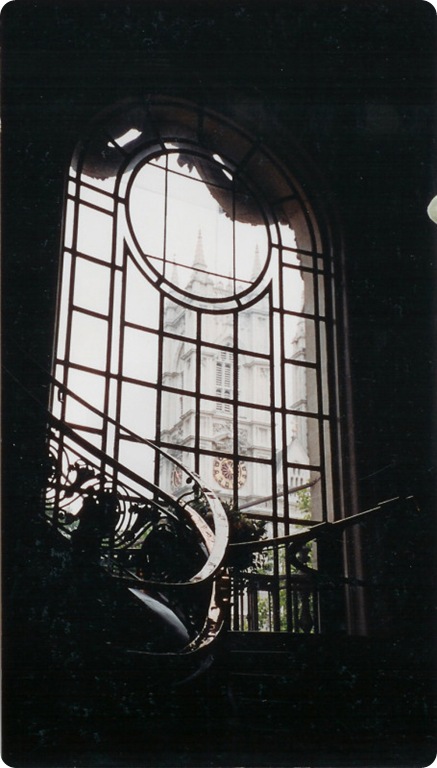
Looking through a window at Westminster Abbey:
Sorry this quality is so bad! The staircase was what first caught my eye on this one. Then the gorgeous window. Then I realized what was framed perfectly inside the window, so without a flash, the beautiful staircase disappeared a bit, but I was OK with that when I saw the result.
One of my all time favorite NYC pictures: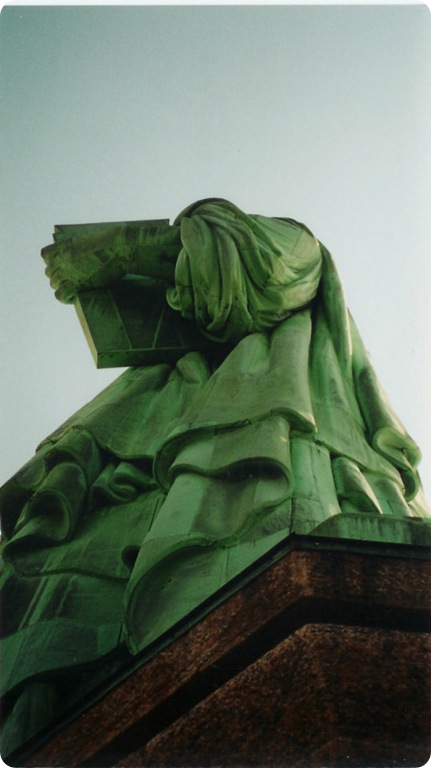
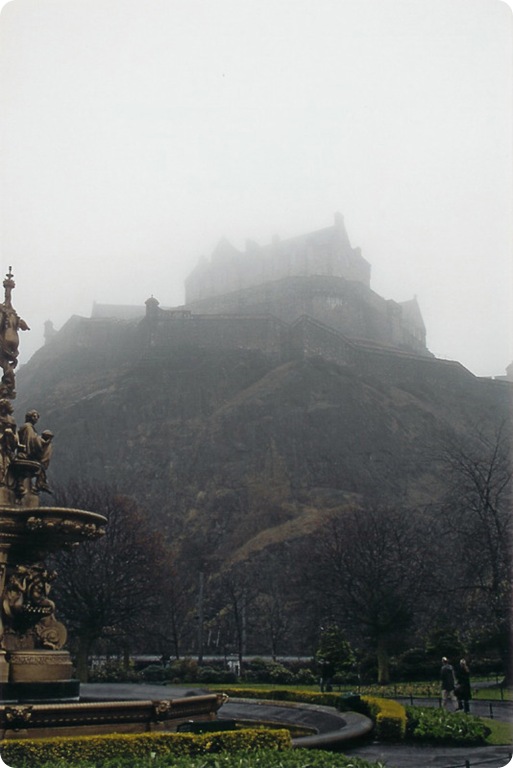
Edinburgh Castle:
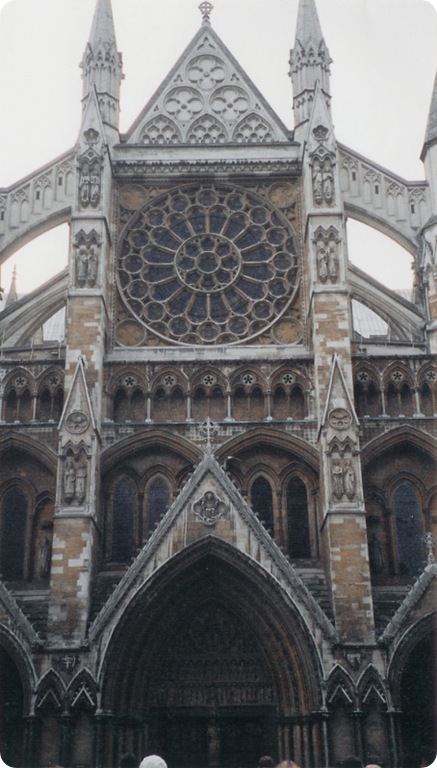
St. Margaret's Church, Westminster Abbey:
Isn’t that seriously fantastic??
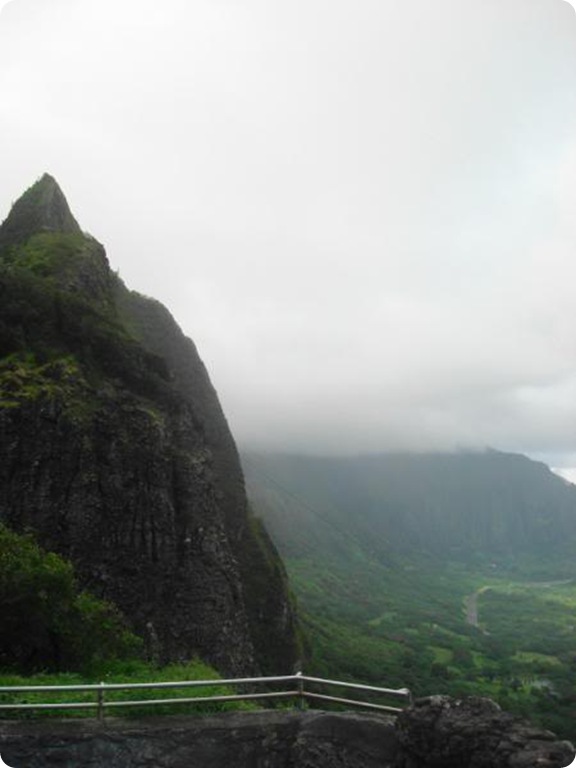
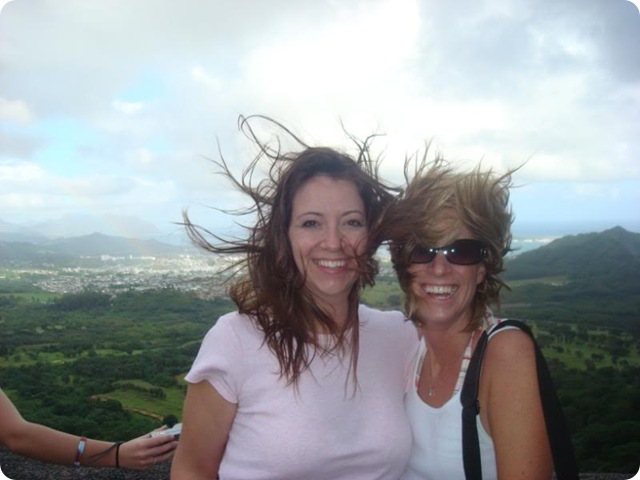
Pali Lookout, Honolulu:
Otherwise known as, the windiest place on EARTH:
Sorry Ali, I had to do it. ;)
The point in showing you these is you can create beautiful art for cheap (or free, if you have a decent printer!). I mean, I know a trip to a fab location isn’t free, but try looking at the buildings and nature around you in a different way. Play with the cropping, with black and white. Pictures from your own back yard can turn into works of art.
I have my photos on the walls all over our house – I would much rather use them than expensive art any day.
P.S. Is Live Writer being squirrely lately for anyone else?




No comments:
Post a Comment