Showing posts with label my kitchen story. Show all posts

Thursday, June 16, 2011

My Kitchen Part 3 - drywall, cupboards and floors


Welcome to 'My Own Kitchen" story, Part 3.

Part 1 is HERE.
 
Part 2 is HERE.

All installments to date can be found HERE.

Where we left off:
 
In Part 2, with the old walls out and new windows in, it was finally time to do the next step.


That happy go lucky drywall phase we all love. :)


My Extreme Dream Team and myself worked on the drywall. They'd put it up and patch and I followed along with the finetuning. Messy messy messy stuff! I really REALLY love those nice loooong pieces of drywall you see above. Less patching. :)

Now before we move on, look at the ceiling. See all that patchwork from where the old cab headers use to be attached to? I wasn't getting new cabs in all those areas again so I had a choice of patching that nasty popcorn ceiling like crazy (which never looks great) or covering it up with something.  More to follow.


Note the floors? They snuck in. We were in quite a mad rush to beat the cab deadline so sections of the floor was laid where panic ensued and volunteer availability reigned.

The hardwood was laid with a diagonal in the kitchen area to follow the soon to be angled kitchen island.

With the drywall in place, it started to feel light and bright. Total use of the kitchen was also still in effect, including that beater range.


And then the painting marathon began. A soft neutral was used for the entire area which turned out to be the perfect shade of taupe without looking green nor pink. Taupes are difficult!

And the painting had to get done pronto for I was attempting to beat...


 ... the fireplace going in.

Friend Dan and his team refaced and revamped the old brick fireplace by covering it with cultured stone, and created a funky wooden beamed mantel with metal influences galore. It's become an amazing focus for the entire upstairs.

More on the fireplace build is HERE.

The fireplace was a gift. Dan and team donated the labor and required supplies and Yarrow Hardware donated the stone. Am I blessed or what!


And then Ron donated his time to install the floors, leading the rest of the team helpers. He's a floor artist.


 I had purchased my flooring a few years prior and had them stacked in my basement. It was such a joy to see them finally in full use over top the plywood flooring I'd become accustomed to.

And then we were finally ready for the BIG day.


Because the team helped me with soooo much else, I was able to swing the purchase. I bought a new kitchen. Alder shaker styled cabs, rustic hardware and badly needed new appliances.


I was at home from work the day the cabs were installed and it took everything out of me to NOT HOVER. But I did alot of walk throughs because... I had to! I was so excited.

The install went FAST. This guy was an absolute pro.

See that black stuff on the ceiling in the above pic?

One of the most asked questions I get is "What is that?" Today's you're lucky day. :)
 
I took my ceiling patched dilemma to artist friend Dan. What I really REALLY like about Dan is that nothing is impossible in his eyes. And being an artist, he doesn't think traditionally. And neither do I. :)

I had sketched out some kinda panels to cover the ceiling mess, and he improvised with his take on it.

The board is simple MDF you can see being drilled in the above 1st pic. The panels were installed in place, then plugs were fitted into the predrilled holes for the illusion of rivets into metal sections.

It covered the ceiling gaps beautifully! And added massive funk. :) The panels were then coated out with a special paint by Sophisticated Finishes loaded with metal pigments. If I hit the panels with acid, they will rust. It was my intent to do so but after seeing the black basecoat, I left them as is.The black just looked so sharp!


Dan was about to create a very one of a kind metal island topper as well so the cardboard above was to simulate the shape and size I desired. Something so permanent and heavy needed a trial run as there was no turning back once it was a done deal.

See?? There's my island on it's fancy angle. :)


 And then it was appliance day. FINALLY! The beater stove hit the curb and in came the glossy black and stainless Bosch jewelry.

Have you ever driven an hour with a brand new fridge standing straight up in the back of a pickup? No? Ah... you haven't lived yet then, my friends. ;)


What I adored about these appliances (other than the quality) were the fact that they were black AND stainless. I had the black fridge outfitted with stainless handles so it would blend with the other pieces.  Aren't they purdy? :)

And yeah, that's a gas stove. (gas rocks!)


 And then the counter tops arrived! Although they look like granite, they are laminate.

The counter tops were generously donated by Columbia Kitchen Cabinets, Abbotsford BC.

So things are looking quite neat and organized, are they not?


Yup! Sure thing! Soon. :)

Because, next up is the complete reveal with all the nitty gritty details.

(If you're new here and are curious about all the donations, you can catch up in Part One. )


Monday, May 2, 2011

My Kitchen Part 2 ~ dreamy windows and doors


Welcome to 'My Own Kitchen" story, Part 2.

Part 1 is HERE.

All installments to date can be found HERE.

Where we left off:


The walls finally came tumbling down and I was left with this amazing open floor plan!

But I've long envisioned one thing and one thing only. Three windows running along the sink wall to bring the outdoors in. I slept and breathed and dreamed that dream. I didn't care how much cupboard space I lost. I'd figure it out. :)

And then...


... my awesome friends made it happen. God is so good!

Welcome to your new home, dream windows! Aren't they the most beautiful creatures on earth? They sure were to me that day. Notice the staging already starting? :)

And then we had to compensate for the loss of the back door.


So this picture window...


became my #2 dream... a set of french doors!

I was totally head over heals in love at this point! Check out that light streaming in!


I love these doors where the blinds are inside the glass. I totally endorse them 100%!


 Things then started to get a little hairy. The team left my kitchen intact for as long as they possibly could while working. But the time finally came when the cupboards really did have to go. With no where to put the stuff. Gulp...

Bear in mind, my ENTIRE house was being worked on at the same time, so there was no place to set up kitchen anywhere else even temporarily. Even the garage was stuffed to the gills with building materials.


 Scary.

I ended up just putting everything in boxes...


 ... and stacked them in the kitchen. You can see them in the foreground. We did alot of dancing around those crazy boxes!

See that wall to the left?


It dwindled daily too. What was left became the new DIY bulletin board. Beat this! :)

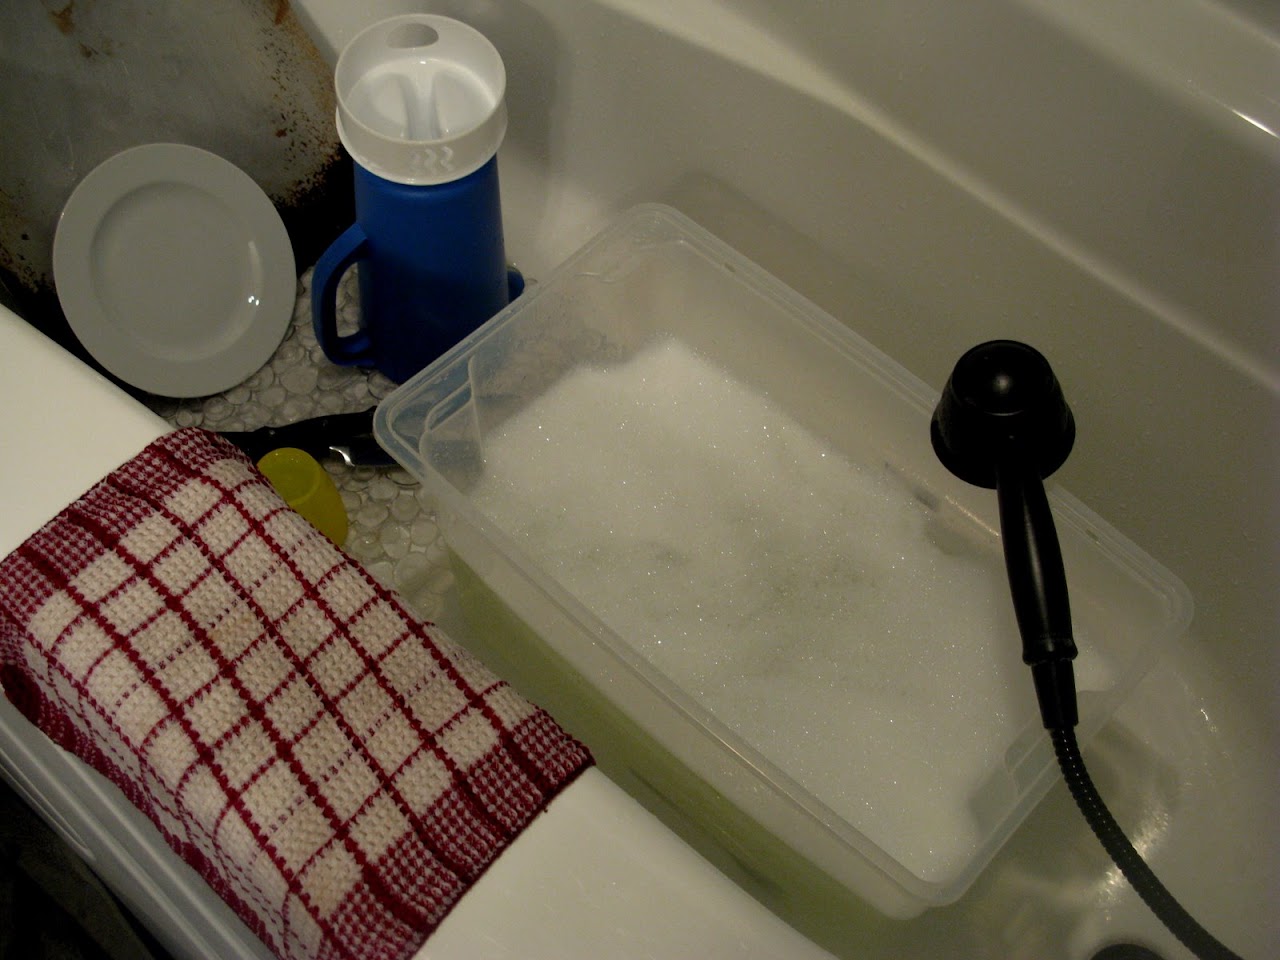
My kitchen work triangle was a little out of kilter as well. The stove remained in the kitchen, the fridge was in the main entry downstairs, and the sink....


 was in the bathtub. :) Luckily my new tub was in! Yeah, that was all being worked on too.


Also not mentioned was the amazing new picture window that went in. LOVE it! All that crazy patch work above it was due to the removal of the outdated valances.

See if you can't spot my son watching TV. :)  We'd cover up the works while working and shove aside the blankets when we sat.

I won't lie. This stage nearly drove me out of my mind. Knowing it was short term helped me cope. But I also found another way to cope on occasion.

We escaped to the campground the odd weekend if the team wasn't banging away. I called it our dust free sanity break. Take a look at a gorgeous hike I went on alongside my camping buddies.


Slideshow of Harrison Hot Springs, in BC Canada

 But then came the time for full speed ahead.  Once the cabinets were ordered, the deadline to install them loomed. so we had to really pick up the pace getting the drywall up, painting done, and let's throw in a new fireplace redo for good measure because the floors were coming in too!

With all this junk in the way.

How in blazes did we do it?! You'll soon see.:)

Thursday, April 21, 2011

My Kitchen Part 1 - The before and wall/cab removal

Welcome to 'My Own Kitchen" story, Part 1.

Part 2 is HERE.

All installments to date can be found HERE.

I have a little surprise for you. :)

While writing about Janette's kitchen, it dawned on me that I've never really shared my own full kitchen story on Funky Junk. I started this blog AFTER the majority of renos were complete.


I did at least document the renos on my very first blog, Our Extreme Home Makeover Experience.

So... how about double inspiration this round? I'm going to share my own kitchen build with you in the same timeline as I show Janette's! So... it's my turn. Here we go!

My story in a nutshell

I hated my kitchen. In fact, I hated my entire house. I moved away from my dream home and moved into a total fixer upper (that was my price range) and I mean, I was grateful, however things kept falling apart faster than I could fix them. And my home grew uglier by the day because there were no funds left to make it pretty. I was downright depressed.

And then I prayed.

10 minutes later, my phone rang. Janette wanted to tell me some wonderful news. A group of volunteers from her church wanted to help me fix my house. I promptly burst into tears.

And cried for an entire year as my house made out of sticks turned into the amazing home I have today. And it was then that Funky Junk Interiors was born.

If you'd like to read the wordy version of my story, it's located HERE.

The entire story really needs to be written in (e?)book format one day before I forget all the juicy details. :) It's another writing goal I have for the future.


 The kitchen story

As the entire house (ENTIRE) was being fixed, we came to a standstill when we came to the kitchen. There was NO budget to do any such renovation, however friends encouraged me to take out a loan so at least they could help me with some of the labor part. With a BIG gulp,  I went for it. This was right before the recession hit.

Honestly? I was really really scared. I'm  afraid of debt and here I went and took out a LOAN. But, in this case, I'm glad I did it.

 True, I have debt. But now I can work at paying down the loan and moving on, rather than being frustrated daily with a broken kitchen that I have no funds for anyway. And I know if I had to resell, I actually could now. I wouldn't have even tried prior.

The biggest bonus of all? I am enjoying my kitchen and home every. single. day. And that's worth my sanity.

So, let's take a reno dive into the deep end shall we?

The before

I actually have two befores.


#1.


 This kitchen gave me a lot of grief. The layout was just all wrong. That peninsula thing jutting out allowed for only one person to work in the kitchen at a time. I actually had to shoo my son out of my way when I cooked. Not cool!


 Itty bitty tight spaces. I really hated this kitchen. :)


I lived with this for about a year until I had my fill and painted the place, broken cab doors and all.

I also hired a friend carpenter to widen up some doorways and change out some dog clawed doors and such so I could at least deal.


#2. 

And then I got out the paint and went to town on everything in sight. We're talking walls, broken cabs and even countertops. I repainted the counters every season for a new look because I could. :)

I even allowed myself some new stainless steel appliances I could at least feel good about the space.


The paint I used for the cabs and counter tops is called melamine paint which is actually liquid counter top. No priming. Just went to it.


The widening of spaces made so much difference!

Note the  plywood floors? I couldn't deal with the carpet so I just ripped it out. :) And we lived like this for a few years.


'The Great Wall of Ugly' had always been a thorn in my side. I hated turning around feeling like my nose was pushed up against the wall. Desperation had set in so I had that window hole cut out which really helped. But the wall always felt in the way. I wanted it gone from day one.

And then the awesome reno team knocked on my door and we started making noise.


But you see, the team didn't just want to fix what was broke. They wanted to also make some dreams of mine come true. So Vic and Ralph took down the wall!


I'll never forget this day. When the walls came tumbling down in the very best of ways, I squealed so loud the guys turned around wondering if something happened to me!

Ohhh something did indeed happen. I fell in love with my house for the very first time that day! What a difference! Isn't the visual space amazing already?

As luck would have it, the walls were not load bearing. I had a pro Ben check it out.


Looks a little like Janette's house doesn't it? :)


Next came down the cabinets and headers. I desired my new cabs to reach the ceiling this round.

The door was then removed and boarded up, getting ready for more exciting dreams in the making. A bank of 3 windows and french doors were in the plans! Did it happen? You just wait and see.


I got rid of the cabs by calling a neighbor that was building a workshop. We delivered that very day.

It's got to be every woman's dream to have a team of men willing to kick up some dust. I felt like a queen!

Just so you know? These changes meant so much to me I get misty eyed just looking through the photos again. I can cry at the absolute drop of a hat when I think about the good hearts these people had.


So... you think it's messy now? You ain't seen nothin' yet. :)

Check out Part 2  HERE.