Showing posts with label centerpieces. Show all posts

Thursday, July 21, 2011

Bouquets of Gladness

Once or twice a month I like to buy a bouquet of flowers.
Fresh flowers have such a way of gladdening my heart and home. I don't feel the need to buy flowers from a florist when I can get beautiful budget bouquets at the grocery store.
This week I splurged and brought home two bouquets. There was such a wonderful assortment of flowers that I couldn't pick just one!
The first bunch that caught my eye were these
lovely gladiolas
.
Their size alone makes a great design statement. I chose to add some sea glass to help anchor the arrangement.
You can see why I had to buy these flowers. I've never seen anything like them before. They have a stem similar to a carnation but their heads look like a combination of a fern, grass, and a moss ball. I just couldn't resist!
I cut them short and placed them into a vintage pottery piece designed to look like bamboo. I'm excited to see how long they last.Do you buy grocery store bouquets to
gladden your heart and home?

Tuesday, June 21, 2011

Botanic Garden and Dollar Store Orchids

One of my favorite places to visit in the DC area is
The United States Botanic Garden. Each time I go I find different things that inspire me.
This time was no exception.
I loved these arbors with their display of living plants.I'm always inspired by water features and creeks. I have great plans to make one in my own backyard---when I get enough money, time, energy, and muscle.
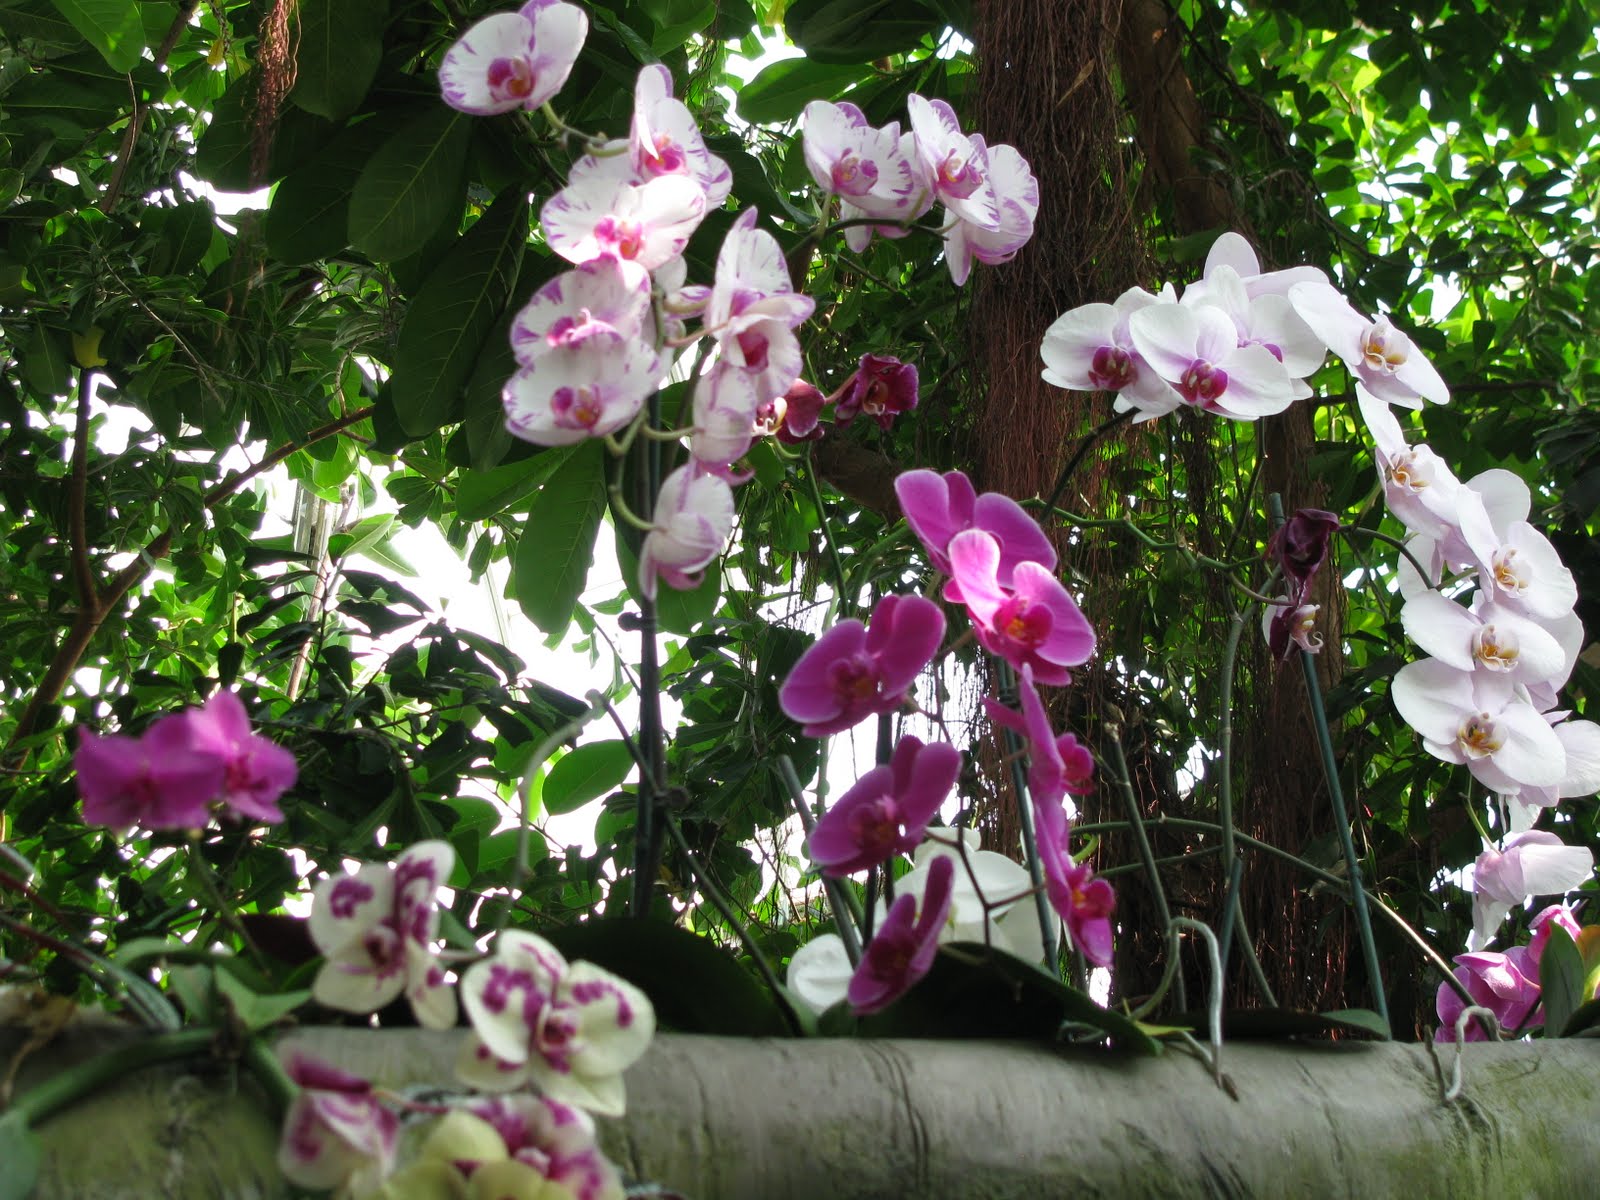
There are always beautiful hydrangeas to be found.One of my favorite rooms inside is the orchid room
filled with stunning displays of orchids.I love orchids!Even though I have two living orchid plants, I couldn't resist buying a few of the silk variety
when I saw them at the dollar store, along with some reindeer moss.With a little styrofoam secured in the bottom of some thrift store vases, I just stuck in the end of the orchid (cut to length)
and filled the vase with moss.This is the version I made for my daughter
using one of her beautiful thrifted vases.

Friday, May 27, 2011

Yet Another Paper Wreath Tutorial

If you do a search for paper wreath tutorials you will likely find a bazillion. There are folded paper wreaths and rolled paper wreaths just to name a few. I'm sure there is already at least one crunched paper wreath tutorial, yet I will add another just in case you haven't had the time or inclination to search. Paper wreaths are so popular because they are relatively inexpensive. However they are time, paper, and hot glue stick consuming. Each of the wreaths I made as centerpieces for the wedding reception took about an hour.
I started by using a simple wreath from the dollar store.
In order to camouflage the wreath, as well as make it easier for the crunched paper to stick,
I first covered it with strips of sheet music.
This was when I received 75% of my hot glue burns so be very careful with this step!
Next I cut pages from a music book into fourths.
My wreaths were covered completely on all sides so each took an entire music book that was about the thickness of a magazine.
Using one piece of quartered paper, I placed a dowel (a pencil would also work) into the center of the paper and then crunched the paper around the dowel.
Making sure to first flatten out the crunched end a bit for more surface area, I then applied hot glue.
Next I used the dowel to place the crunched paper onto the wreath.
I continued. . . and continued. . . and continued until the wreath was covered.
***I will now impart what little unique knowledge I gained from this procedure***
If the paper is thin it will adhere much faster than if it is thick and stiff. The stiffer the paper the longer the wait time for the glue to hold. And while you may think that the paper is stuck you will soon find out that the little stinkin' stiff paper will try to hightail it right off the wreath just as you are placing the next piece causing you to grab said piece and possibly cause additional finger burnage.
After the wreath was complete I lightly sprayed each with the desired color of spray paint. To give them more color and interest I added in pieces of crunched colored tissue paper.
To make them hang I hot glued on some evenly placed ribbons and glued the ribbons onto a large dowel that had been glued into a piece of 2x4. The dowel was topped with a finial painted to match the wreath and ribbons. I then adhered photos of the newlyweds onto the ribbon.
The centerpieces resembled little maypoles which was very appropriate since it was a May wedding.

Monday, April 18, 2011

Centerpiece, Centerpiece, Centerpiece

We've been hired to decorate for another wedding! The open house is in May and their colors are bright, saturated versions of pink, yellow, and turquoise. Fortunately the couple likes the style of the backdrop from the last wedding we did. We will, however, be doing some modifications in order to make it unique to them. I'm also making new centerpieces for the tables. I made up three for them to choose from.
I thought this little dowel tree was fun and Spring-y.Then there's this hanging music page wreath that reminds me of a May pole.My favorite is this faux candelabra.They chose to use the oversize candelabras on the serving table and the May pole page wreaths on the guest tables. I'll be making the wreaths in the three different colors. Although I'm a little worried about hot glue gun burns from making that many wreaths (I burn myself practically every time!), but their happiness is definitely worth a blister or two.

Friday, January 28, 2011

Sat Nite Special #67 brings you - centerpieces!


Welcome to Saturday Nite Special #67, the 'centerpiece' edition!


If you're new here, join in! There are three categories to link to. Home Decor as well as Crafts, Sewing, Recipes, plus the 3rd themed link up which stays open indefinitely. Check below for this weekend's theme.

Party starts Fri night and ends Sunday 11pm pacific, so you have all weekend to join!

I LOVE to highlight inspiring posts during the event on the sidebar, so make sure you check in several times over the weekend. You may be next. :)
this weekend's theme

~ centerpieces ~

I don't have a kitchen table, so it was abit of a challenge for me to sell you on the topic of centerpieces. :)


So, I set up shop in office #1. My farm table is finally in place and I was able to play with all my stuff nearby! Yay!

It's my belief ANYTHING can work in a centerpiece. I especially like those that have trays, dishes, handles, or any kind of platform underneath so they're easily removed when you need the entire table.


I wouldn't hesitate to display my favorite treasures on my own table. :)

Have a pretty table you don't wish to hide?

How about defining your area with an empty picture frame?


Nothing shouts spring like snowdrops and clay pots! Simple, pretty, and super easy to remove at a moment's notice.


Since I don't have that kitchen table, this is where mine sits.

Here are a few others I've done not long ago...


A simple tool tote makes an awesome centerpiece.


And my coke crate sat on my kitchen island during Christmas. Cute AND handy!


And then there's my tray which can go virtually anywhere with anything on it.

So there's my off the wall take on centerpieces. Can't wait to see your variations in this weekend's 3rd themed linkup!

What's your fav thing to use in centerpieces?

~ next up ~

chandeliers

then...

bulletin boards
slip covers

Be sure to check the themed linkups master list to add your newest creations anytime. They're always open. List HERE.

 
~ SNS blah blah linkup rules ~

1. Please link up your intended post, NOT your blog homepage url. (post, then click the title of your post, then cut and paste that url) If your post has been deleted, please try again.

 2. Please put a link in your post (button or text) that leads back to the party so others can see what's up. (see BUTTONS label under main blog header)

 3. This party is geared for DIY type projects we can all attempt to make ourselves. Items for sale may be linked up IF your entry is posted on your blog and in tutorial style.

4. For Home Decor and Crafts, Sewing, Cooking, please link projects up that are new to SNS and/or within 1 month old.  This helps keep content fresh.

The 3rd weekly themed link may have older posts and not brand new to SNS and will remain open for your new additions at any time. Click HERE for the main list.

If you can't decide which category to enter yours in, please just pick ONE and go with it. It's all good!