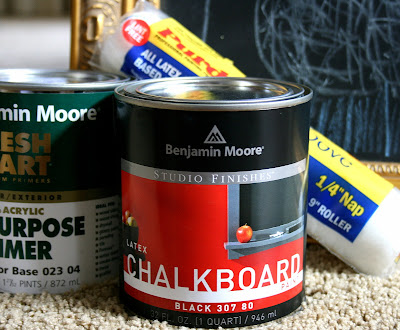
This past Friday I started painting the Home Office Redesign feature wall with chalkboard paint. I have to say I am very excited about this wall and my plans for it!

First, I edged the area with tinted primer...

and then painted the entire wall with the primer.

The next day I edged the wall with the chalkboard paint...

followed by painting the remaining surface. The color is reading a very dark blue/black. Once the surface is covered with chalk the color will become more muted and work great in the room. Plus, a portion of the wall will be covered with art and frames. Thanks, by the way, for all the tips on where to find frames at a steal. I've begun searching for a few based on your suggestions.

Yesterday I got to the cover the entire wall with chalk part of the project, which was actually a lot of fun. The surface was covered using the edge of chalk sticks. This took a lot of sticks.

Before using the chalkboard wall this step is necessary. If the surface is written on before it is rubbed with chalk, I'm told you'll have a hard time erasing the writing off completely.


Finally the area is all covered. I actually loved how it looked at this stage. Can I just leave it?!

Then, with my favorite help, the chalk was rubbed into the wall.


Come back tomorrow to see the completion of this step and what comes next.